Arcanna.ai and Splunk Security Operations
Introduction
This is a step-by-step guide that will explain how to integrate Arcanna.ai with your Splunk Security Operations suite to automate your team's decisions with an AI Decision Intelligence platform.
Arcanna.ai can read data from Splunk either if you use the Community version, Splunk Enterprise or Enterprise Security. This document will focus on Splunk Enterprise Security (ES) and will present how to process notable events
The decision made by Arcanna.ai of either to Escalate or Drop a notable event can be returned in Splunk ES by updating the event accordingly. This can be configured to:
- Add a comment with the result of the inference
- Change the status of the notable event
- Assign the event to a preconfigured user
- Configure the urgency of the notable event
Optionally, Arcanna.ai can have multiple post-decision automations. An example of such case would be to close the notable event and to automatically open an incident in an external platform such as TheHive (or ServiceNow - soon).
Prerequisites
-
Arcanna.ai - Arcanna.ai can be deployed on-premise or in your Kubernetes cluster. For setup, you can follow this user guide. For flexibility reasons, Arcanna.ai is exporting the AI processed alerts to an internal Elasticsearch/Opensearch data warehouse, that needs be installed at the same time with Arcanna.ai. You can use an Elasticsearch/Opensearch instance you already have, or a new one dedicated just for Arcanna.ai backend.
-
Splunk - you can follow multiple guides here
- Required User Capabilities (Settings > Roles > New Role):
- list_workload_policy
- list_workload_pools
- list_workload_rules
- select_workload_pools
- rest_apps_view
- rest_properties_get
- rest_properties_get
- Required User Capabilities (Settings > Roles > New Role):
-
Splunk Enterprise Security (guide)
Splunk Enterprise Security - how to connect
Create the integration in Arcanna.ai
-
Go to the Integrations page and click on Add new integration
-
Select Splunk as part of the Data Warehouse category
-
Fill in all the fields as in the image below and click Save
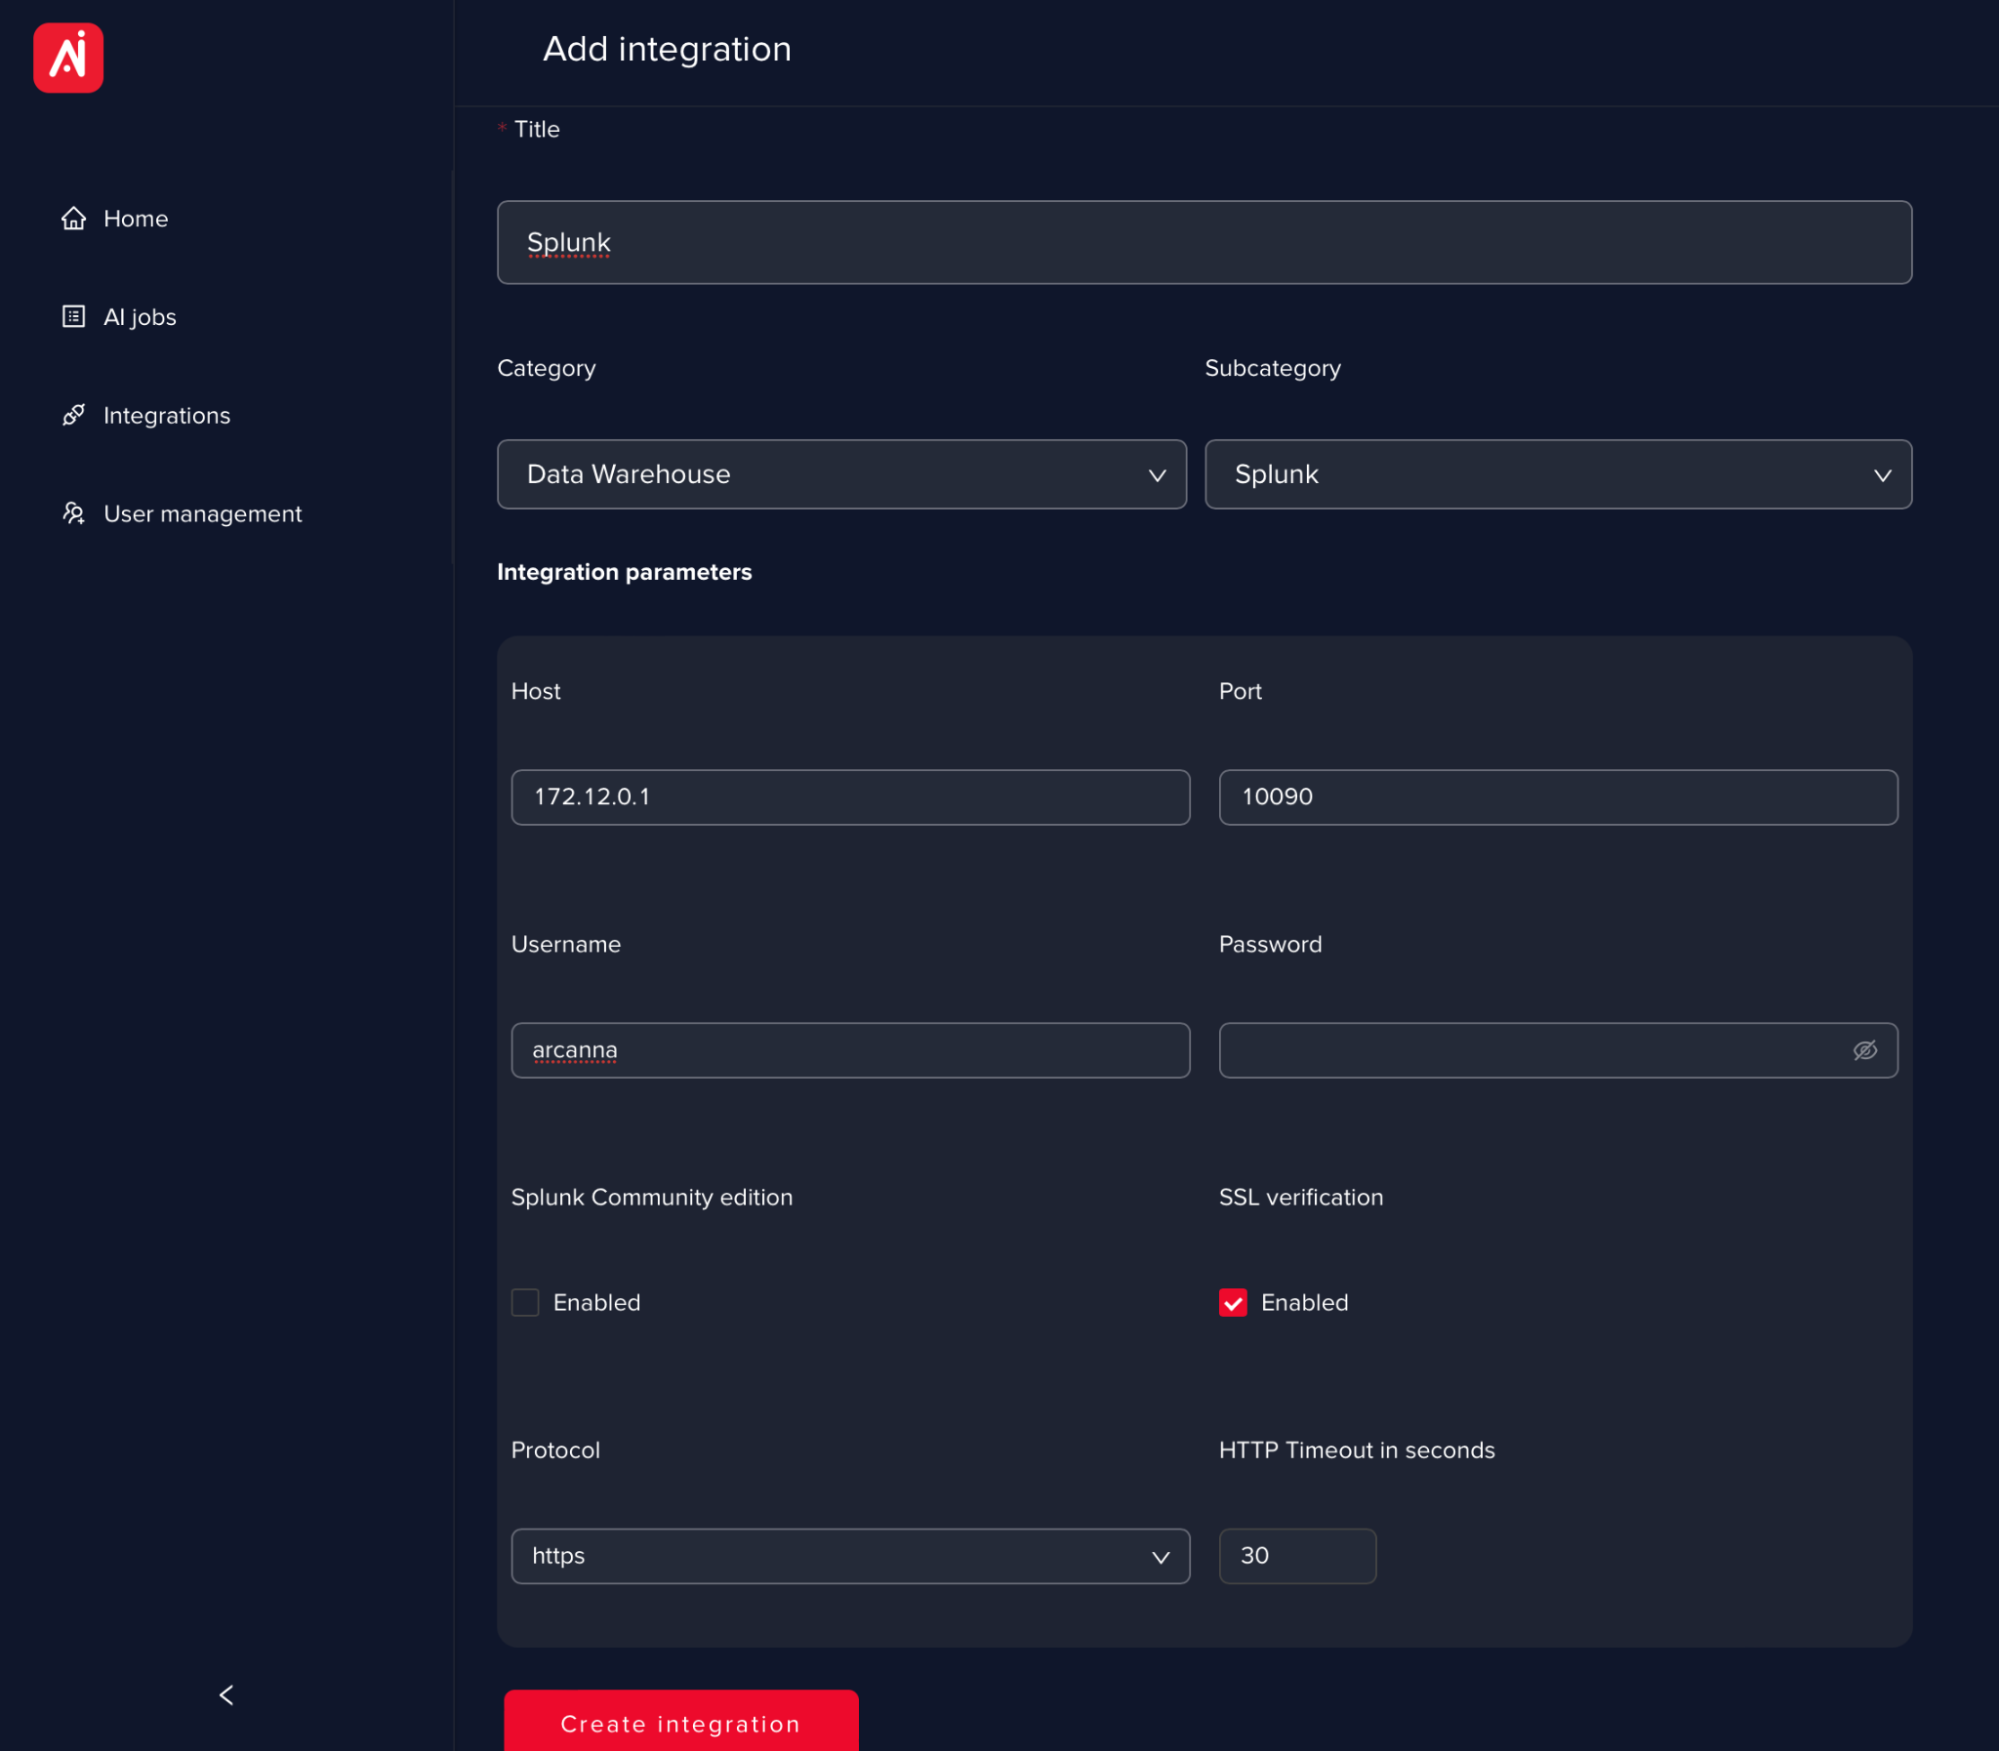
Field name Description HostIP/URL of the Splunk server PortPort of the Splunk server as configured in /etc/system/local/server.conf. Default port is 8089. Username/PasswordUsername and password Splunk Community editionThis option should be used only with Splunk Community (it will use an authenticated and unencrypted communication) SSL VerificationOption than can disable cert verification ProtocolHTTPS recommended, however plain HTTP is also available HTTP timeout in secondsDefault 30s - it can be increased to higher values in case of slower servers/network
Creating an AI pipeline
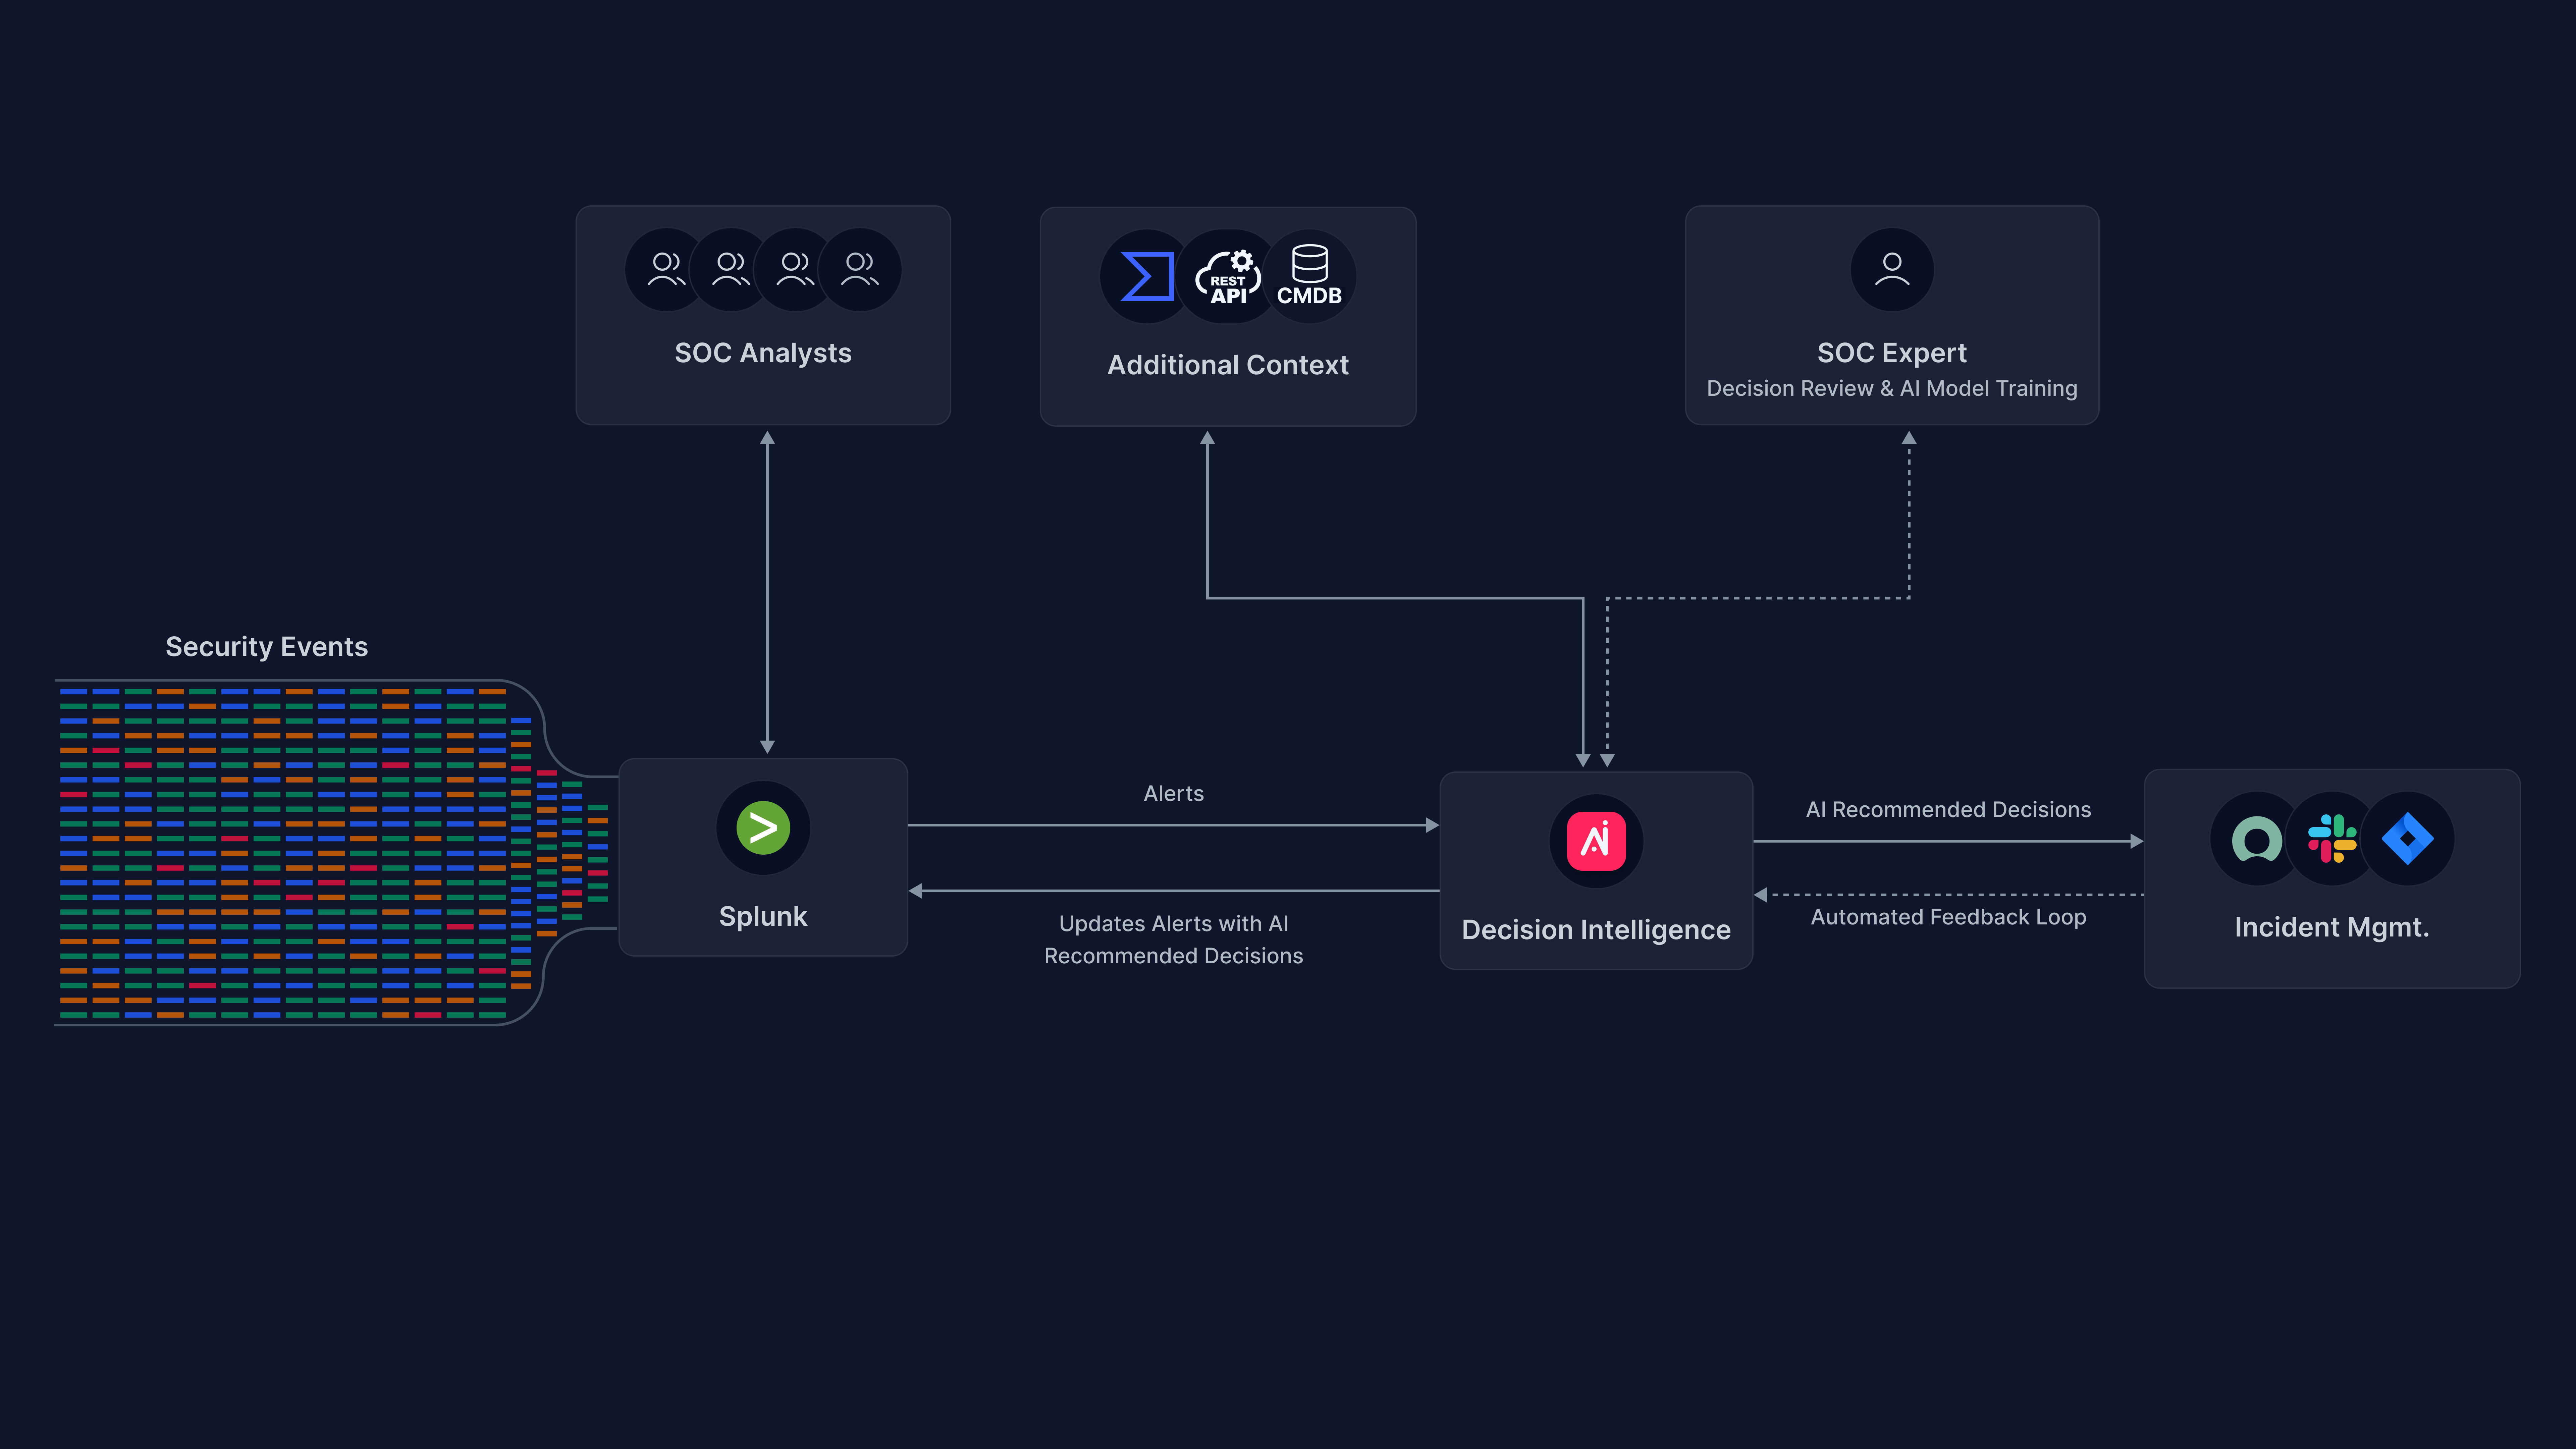
To showcase this process, we will create a simple AI pipeline that will train an AI model to perform alert triage on Splunk notable alerts and create incidents in TheHive.
The pipeline will read the notables (Input), it will process the alerts with a universal AI model (Process), will save the results in the data warehouse (Output) and will create incidents in an external system (Automation).
-
Go on the Pipelines page and click on Create new pipeline
-
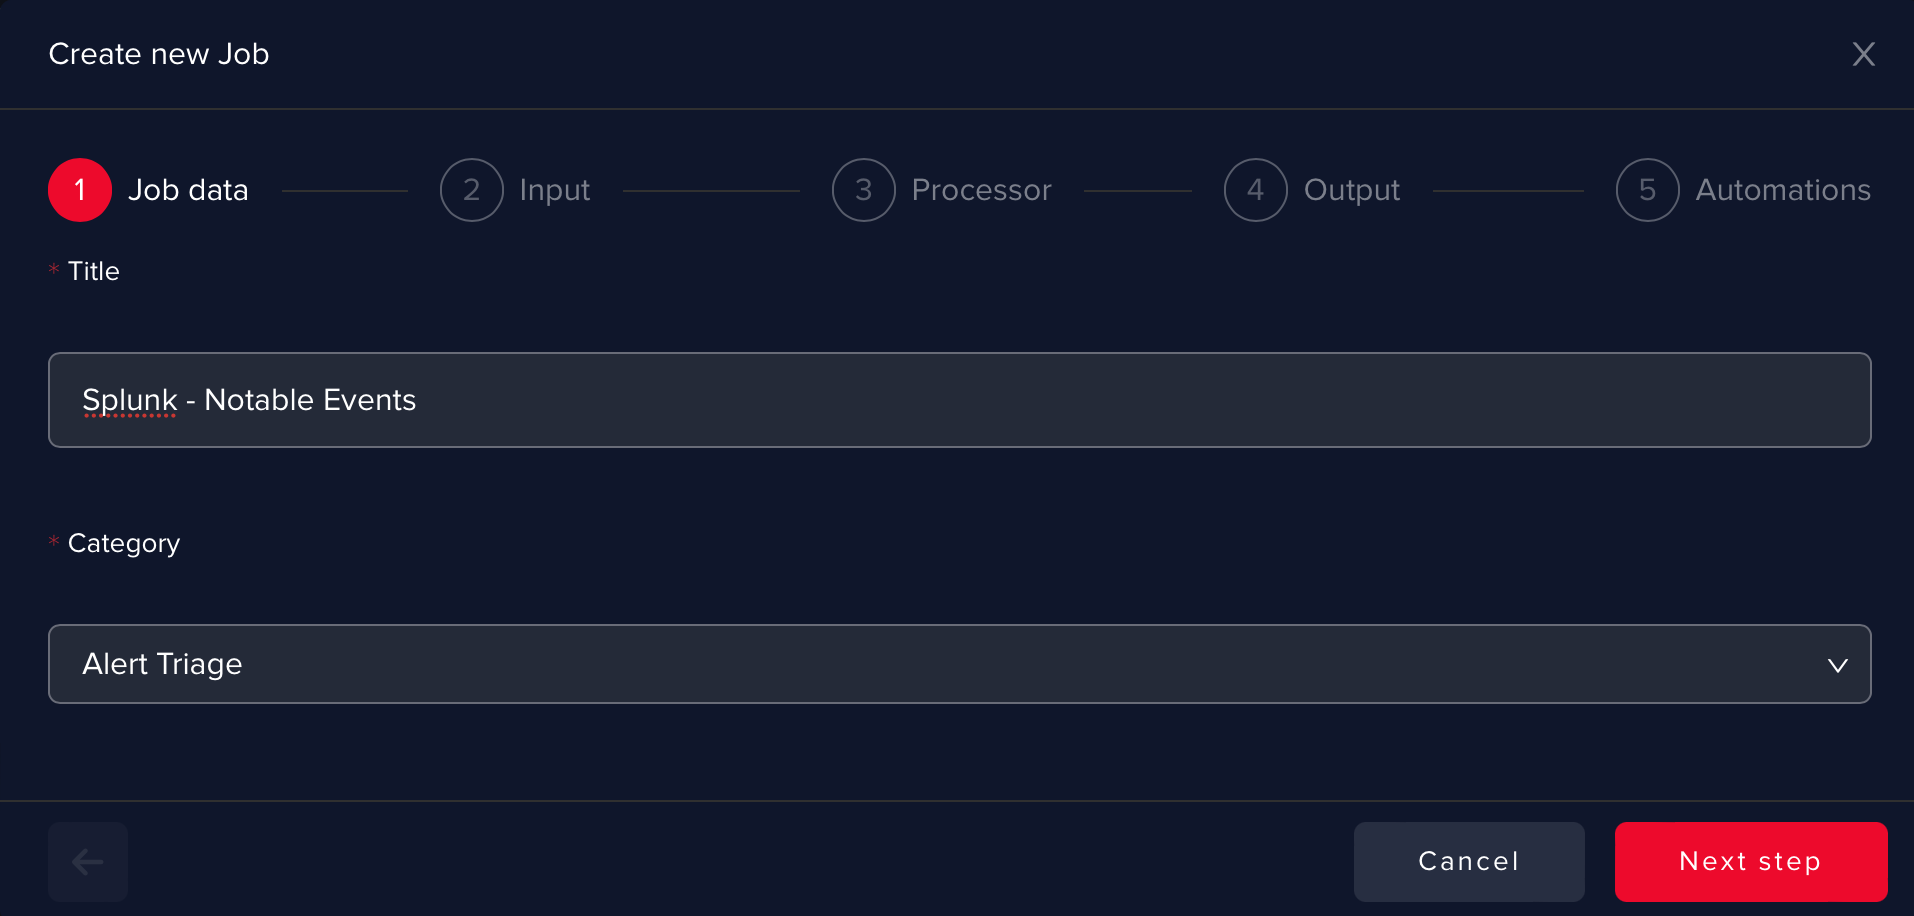
Give a name to the pipeline and select Alert Triage as Category.
infoYou can choose any title for the AI pipeline. Please make it as suggestive as possible, since it cannot be changed afterward.
-
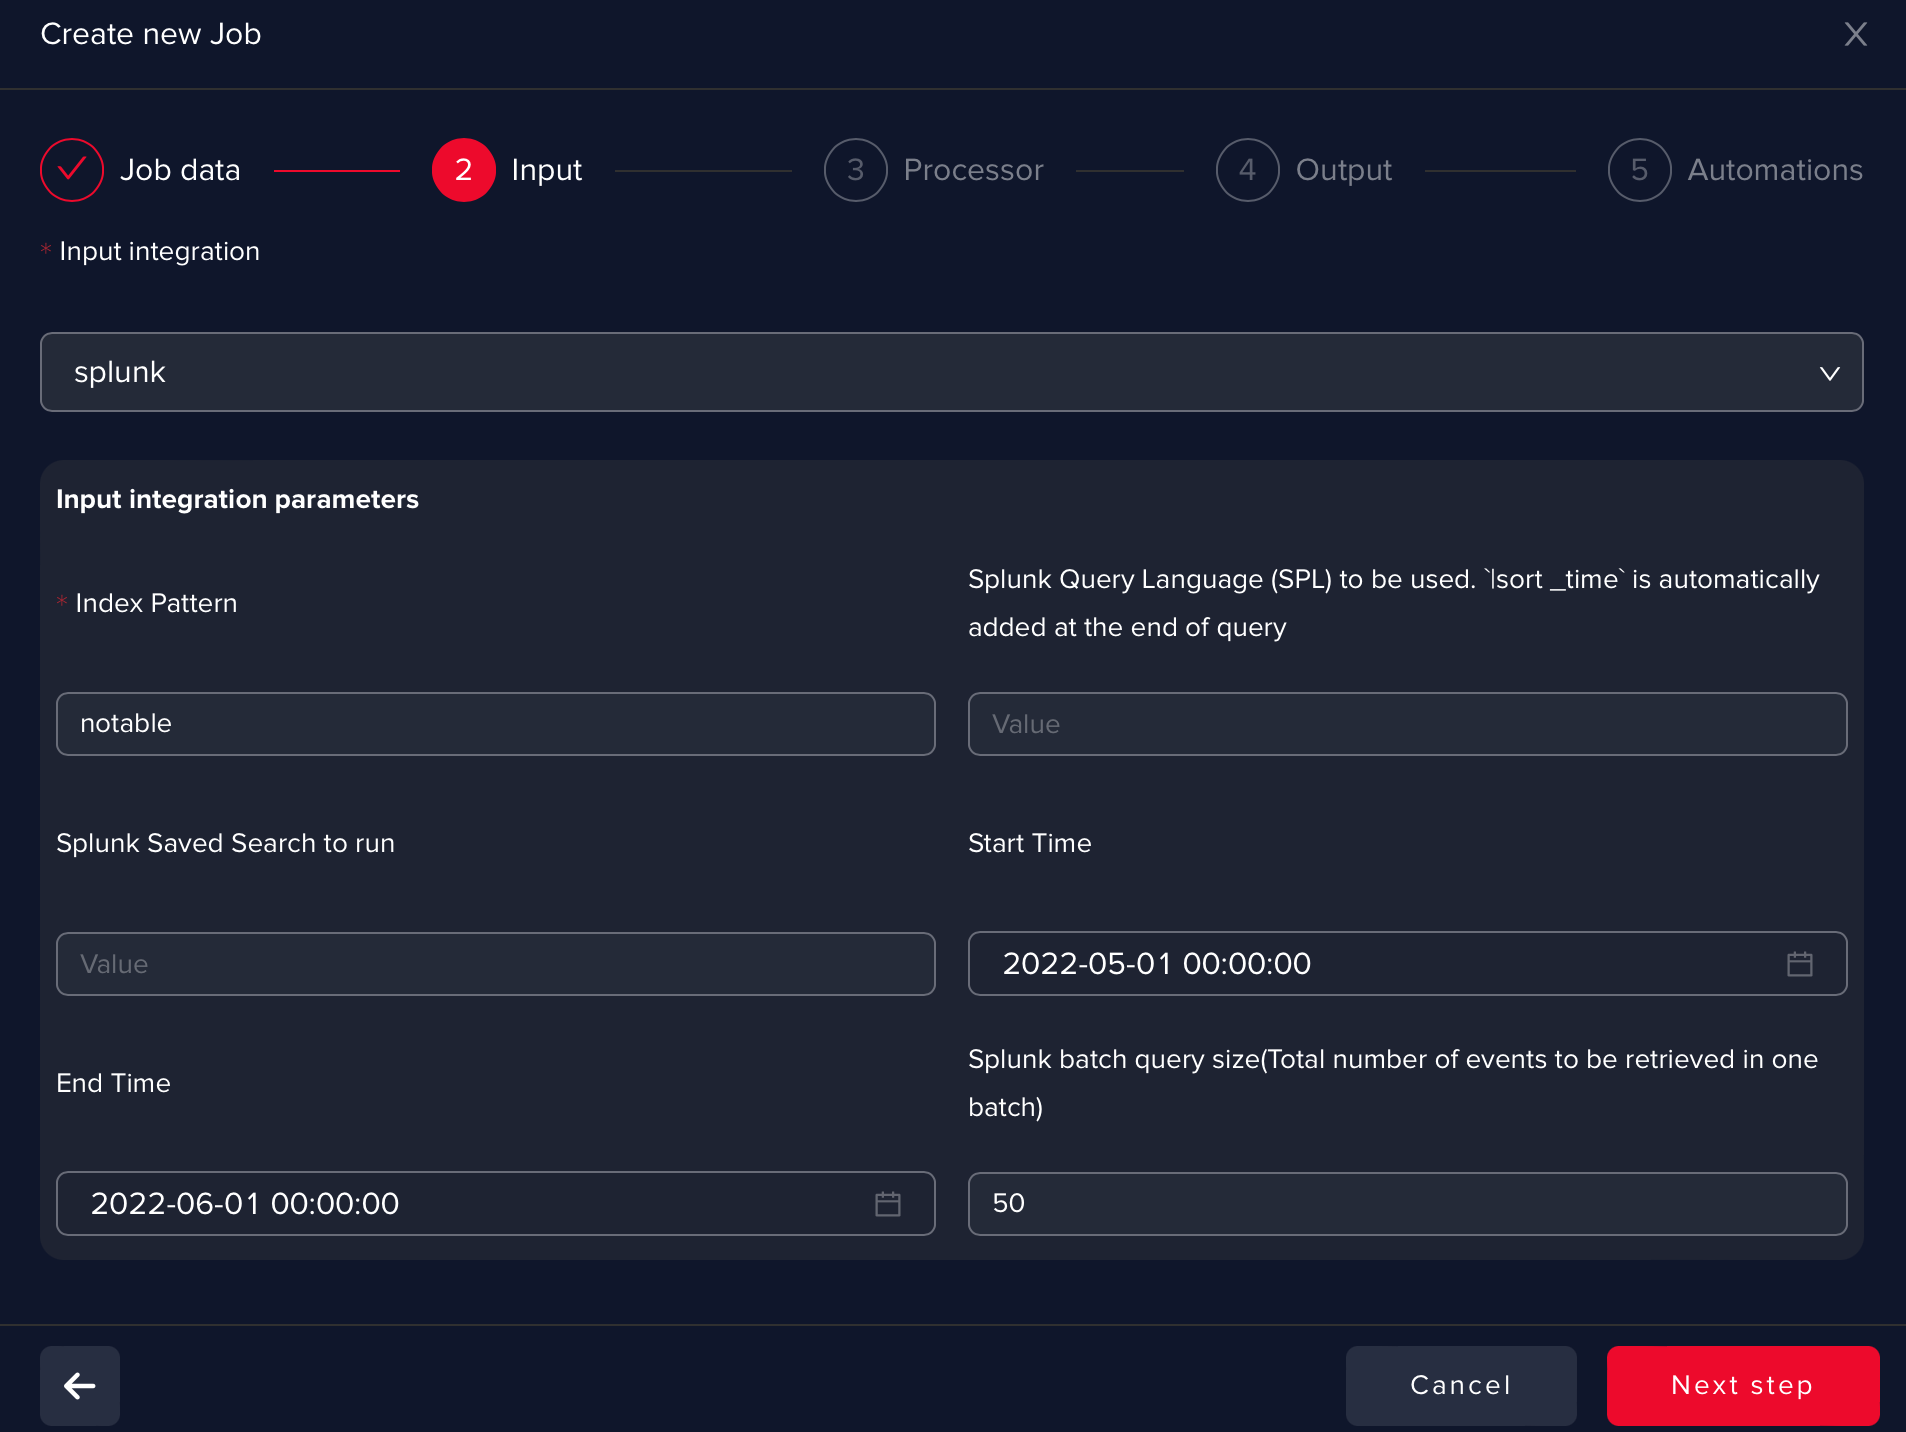
Pick the Splunk integration you defined
At this step, you have a lot of options to configure and filter data collection. Since Splunk Enterprise Security uses a notable index to store the notable events, we should specify the notable index in this case. You can use SPL to filter the data from the notable index.
In this way, you can refine your search to get a certain notable event type for example, which would help you train the AI-based on a specific pipeline or a general one.
You can also filter based on timestamp (start/end time) or even use a saved search. Batch size is configurable, bigger batches will increase the load of a Splunk query and smaller batches will require more searches.
 info
infoPlease find here documentation links regarding the Splunk notables framework.
infoIn the index pattern you can uery for any index in your Splunk: myqueryconditions | fields *
-
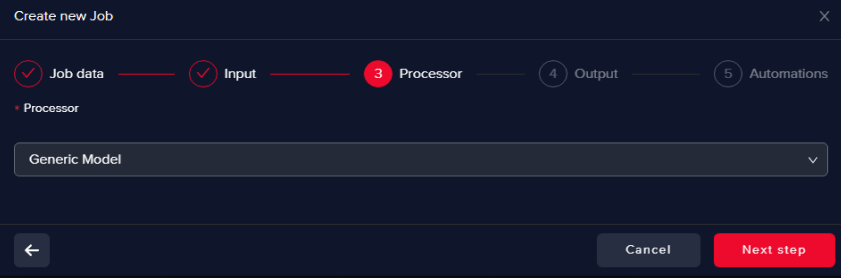
Select Generic Processor
This will help us to train an AI model from scratch
-
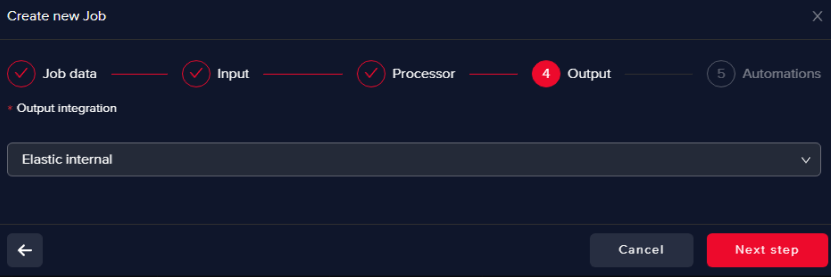
Select an Output data warehouse
Currently, Arcanna.ai uses Elasticsearch or Opensearch to store the processed data. Please check [Manual Installation.] (/docs/admin-guide/manual-installation)
-
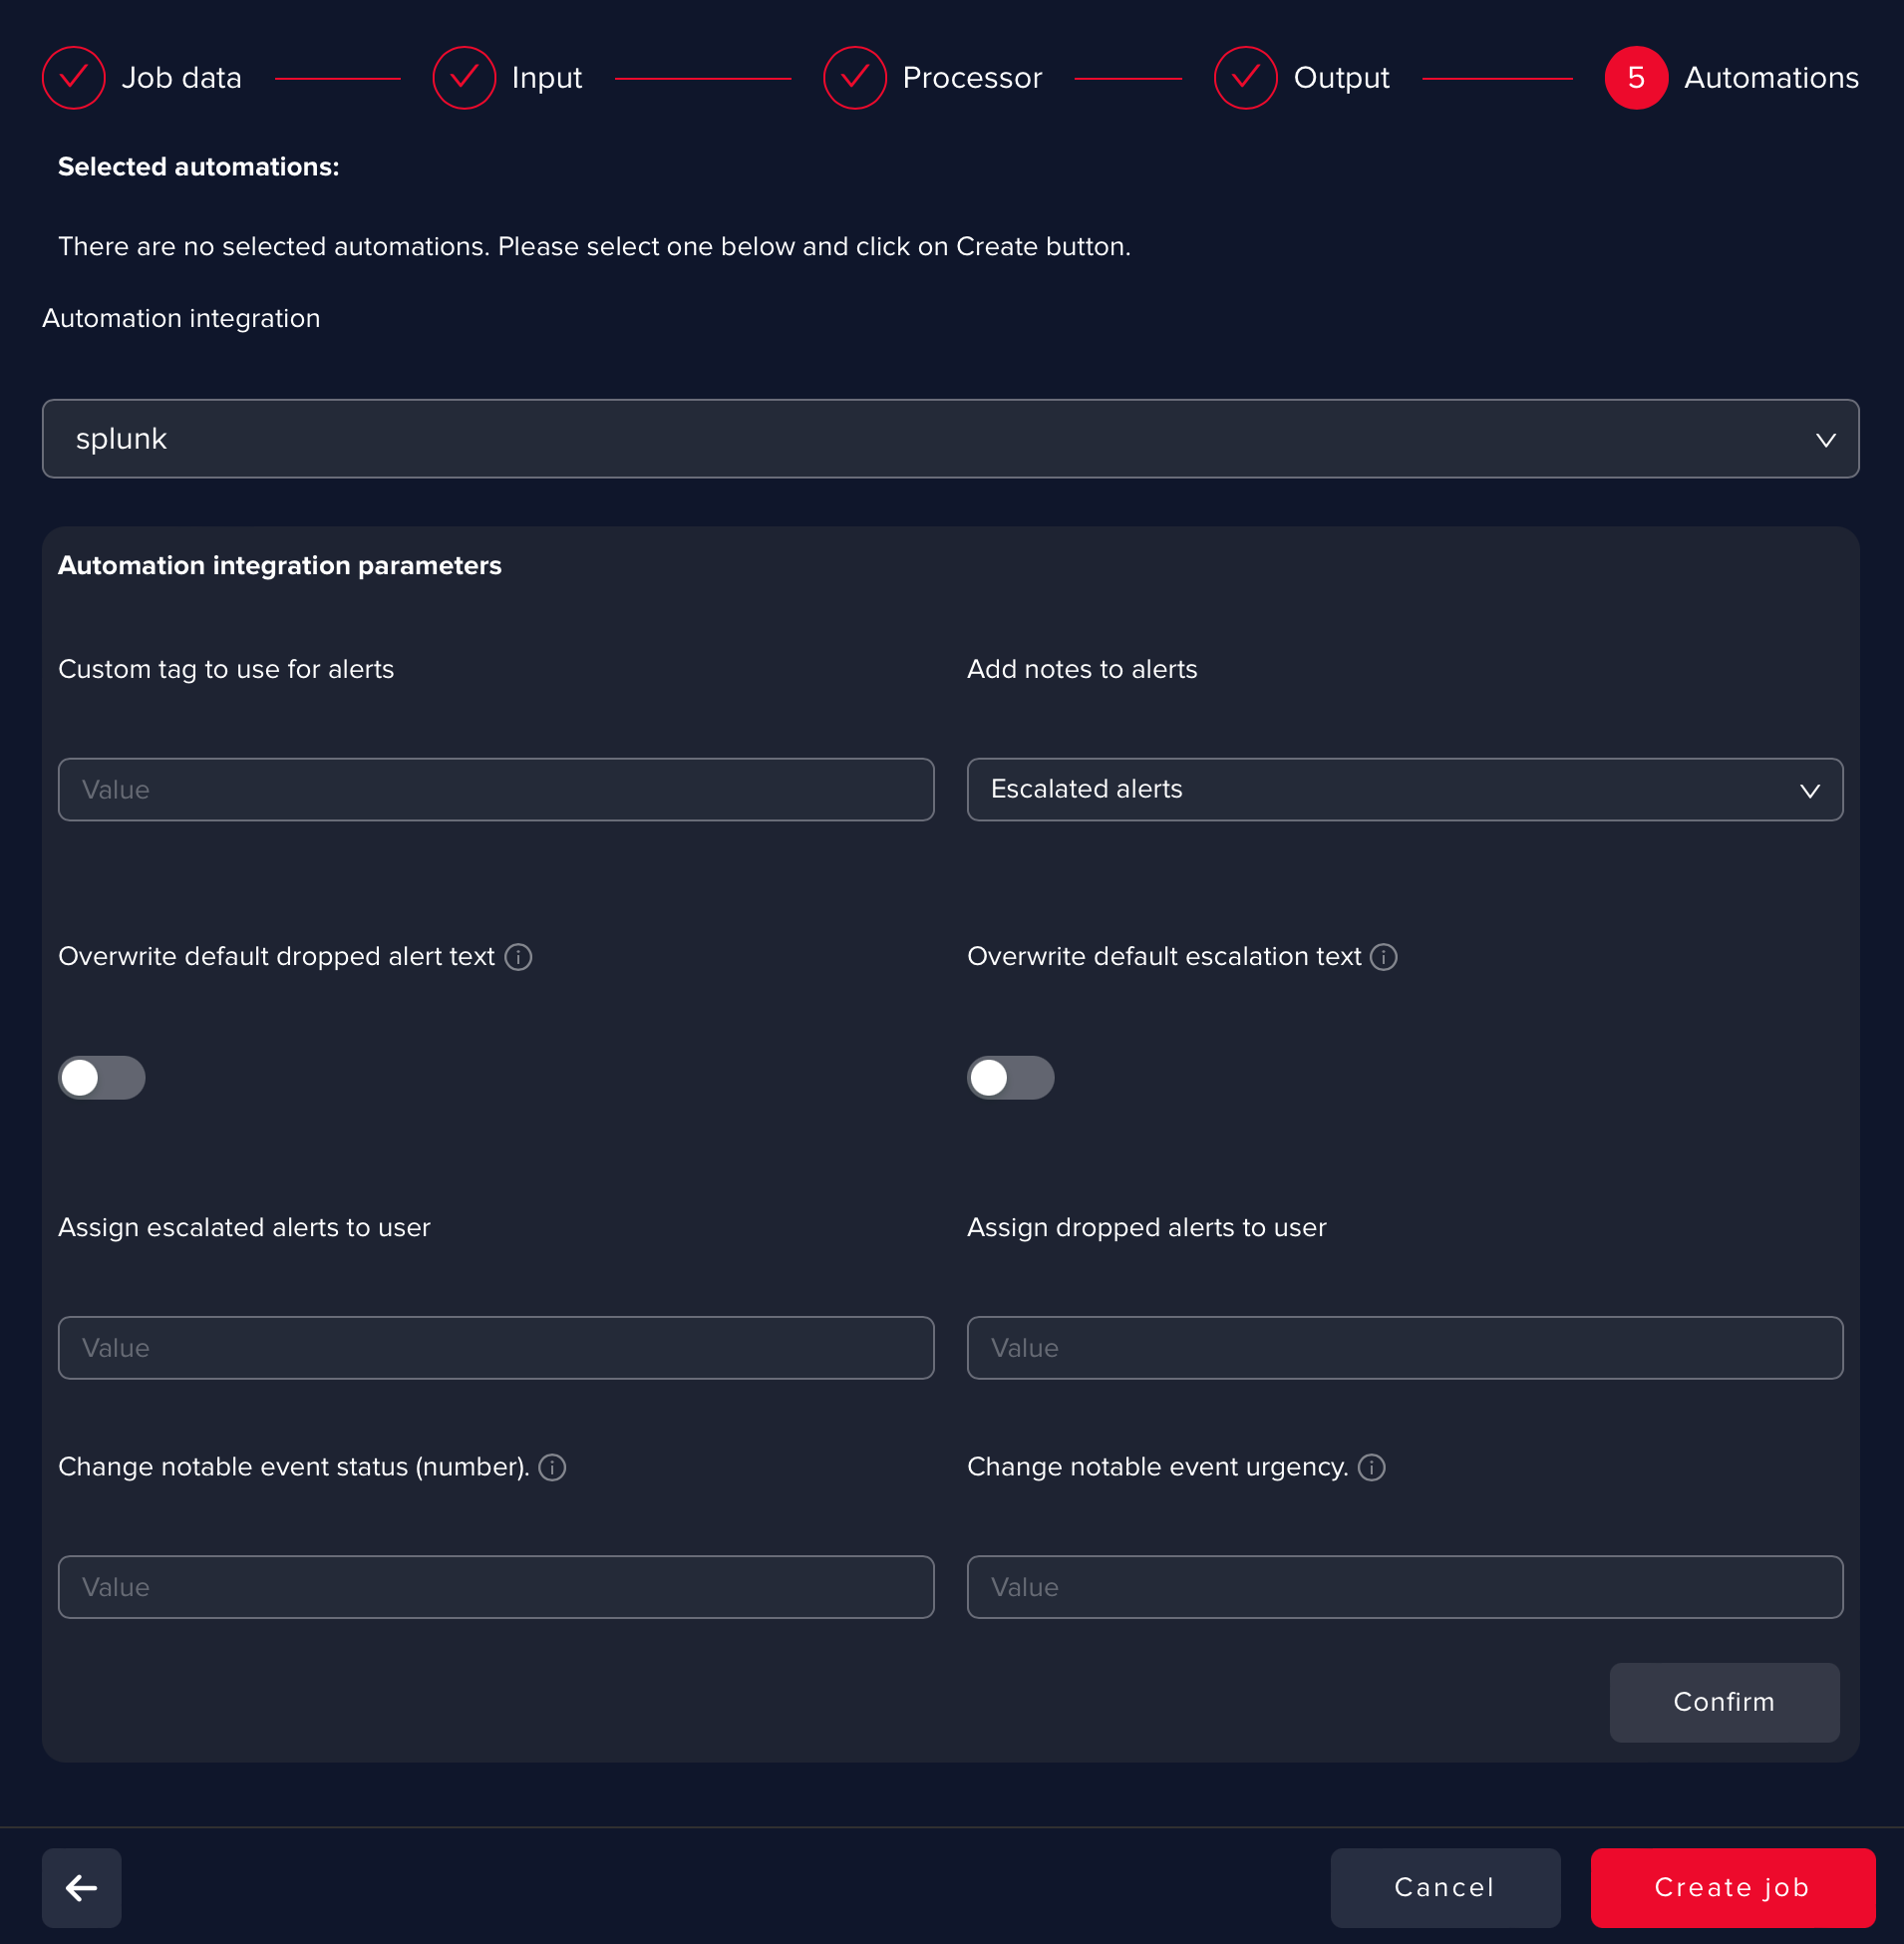
**Define the AI pipelines automations **
You can define as many automations as you need.
The following example shows how to configure a Splunk Enterprise Security automation to return the decision result to Splunk by (same options that are presented to you in the Incident Review GUI in Splunk):
 info
infoSplunk Automation is available only when notable index is selected as input.
infoRecommended is to add this Automation later since you want to train an AI model first and then use it to process new notable events and update them accordingly.