Azure OpenAI
Azure OpenAI is a Microsoft Azure platform that integrates OpenAI’s advanced large language models (LLMs), including GPT and Codex, into secure, scalable enterprise environments. This integration empowers organizations to utilize advanced AI capabilities for tasks such as content generation, process automation, conversational AI, code assistance, and data analysis. By integrating OpenAI's powerful language models with Azure's enterprise-level infrastructure, security, and compliance, this solution enables organizations to efficiently innovate and deploy AI-driven applications that are customized to their specific business requirements.
Arcanna - Azure OpenAI integration
Arcanna.ai is a decision intelligence platform that leverages NLP, deep learning, and user feedback to assist security teams in learning from incident resolutions and scaling their capacity to achieve a truly autonomous Security Operations Center (SOC). By integrating with Azure OpenAI, Arcanna enhances the platform with an AI assistant that helps security teams analyze and process data more effectively, providing valuable support in the form of real-time assistance within code blocks integrations.
Steps to configure Azure OpenAI integration:
Prerequisites
- A valid Arcanna.ai instance - for setup, follow this user guide.
- An active Azure account.
How to connect
Go to Azure account:
- Go to Azure Portal and log in with your credentials.
- In the search bar at the top, type Azure OpenAI and select it from the search results.
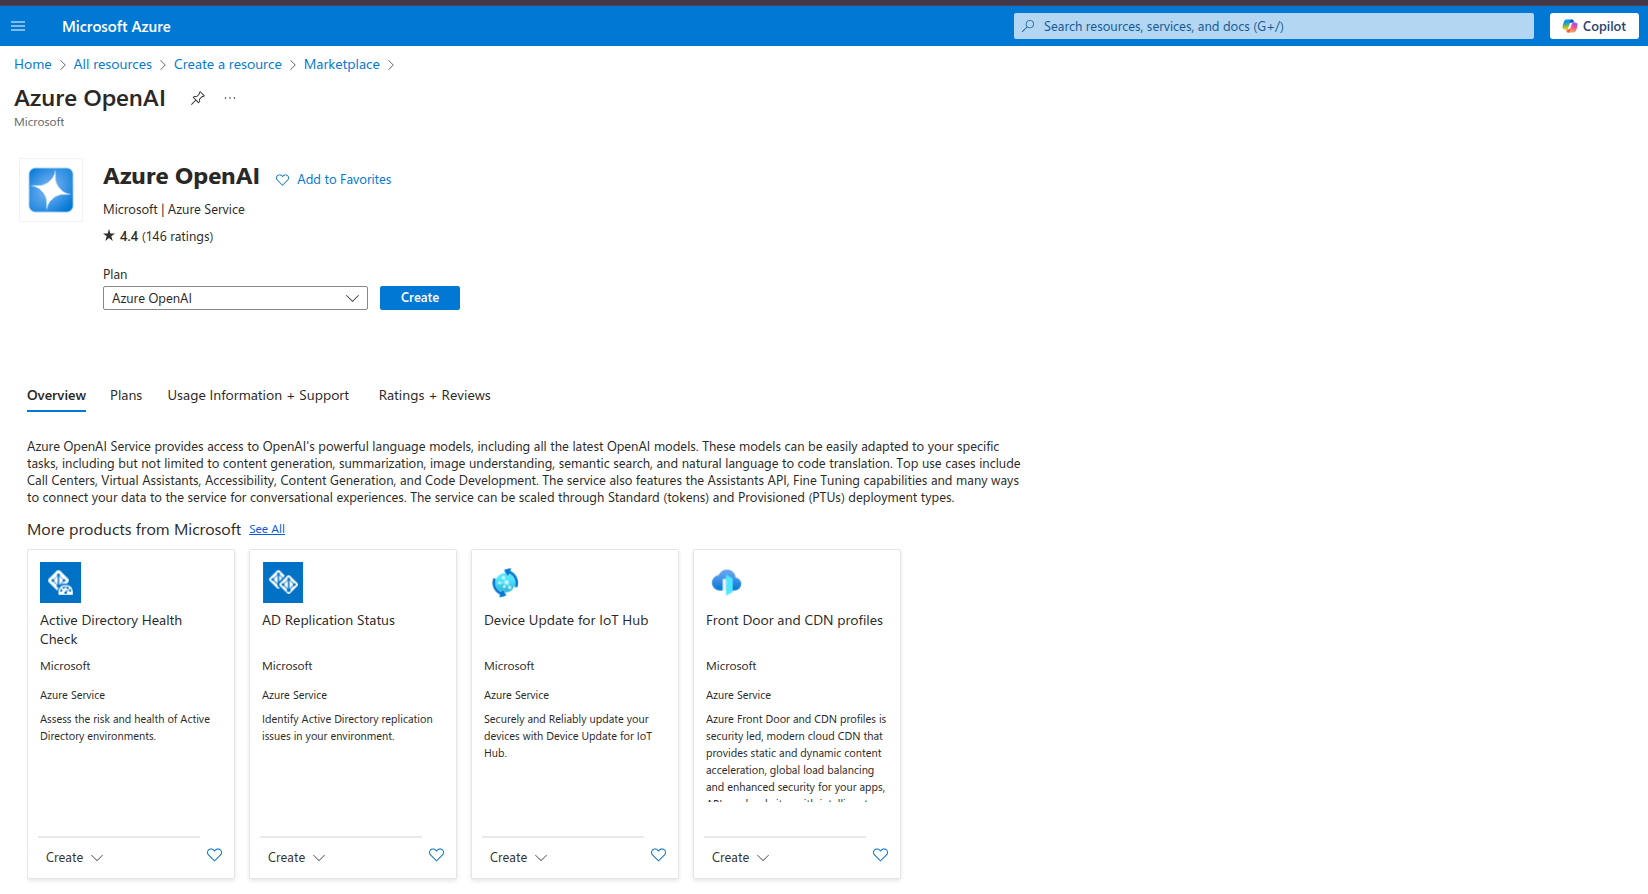
- Create an Azure OpenAI Resource:
- Click Create to start creating the resource.
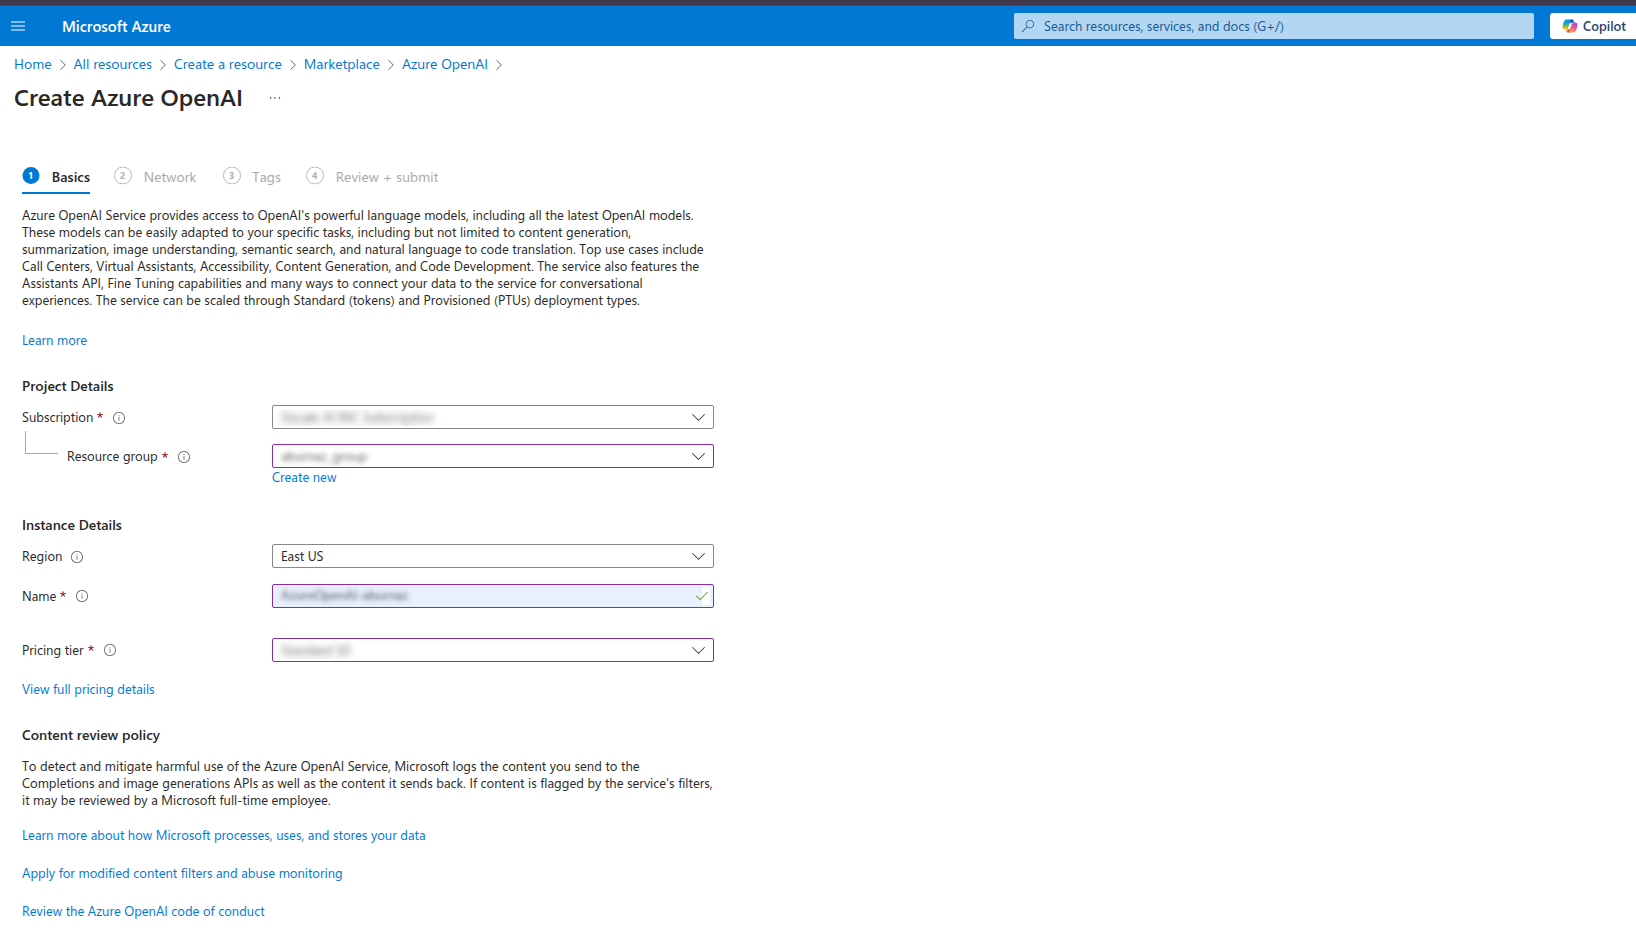
- Fill in the required details:
- Subscription: Choose the subscription under which you want to create the resource.
- Resource Group: Select an existing resource group or create a new one.
- Region: Choose the region where the resource will be hosted (ensure the region supports Azure OpenAI).
- Name: Provide a unique name for your Azure OpenAI resource.
- Pricing Tier.
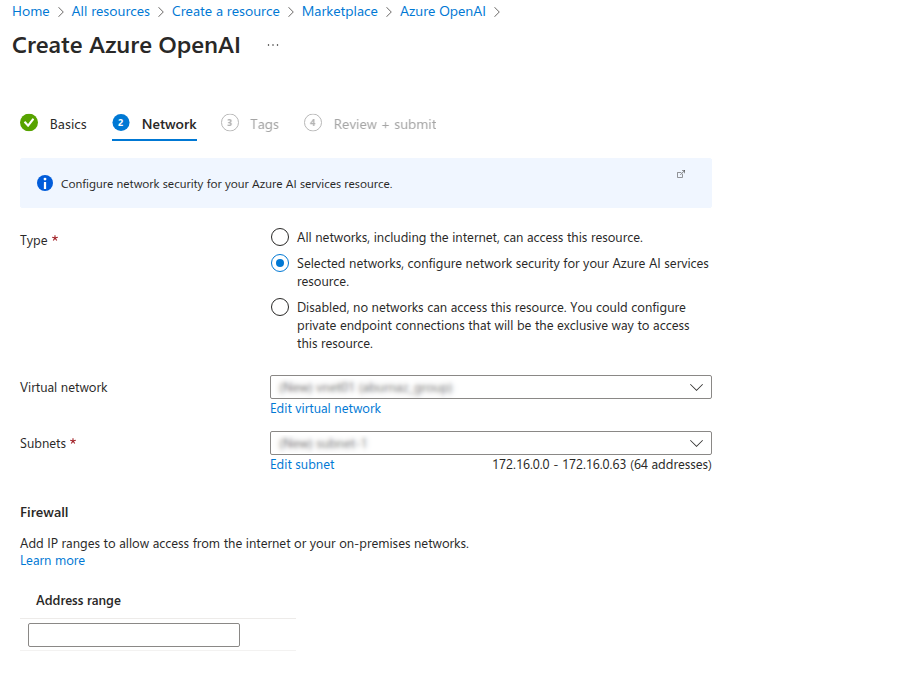
- Go to Network tab and choose the appropriate access type based on your requirements:
- Public Access: Select this option if you want your resource to be accessible over the public internet.
- Private Access: Select this option if you want to restrict access to your resource through a private endpoint within a Virtual Network (VNet).
- Go to Tags (Optional):
- Tags are optional metadata consisting of key-value pairs that help with organizing and managing resources.
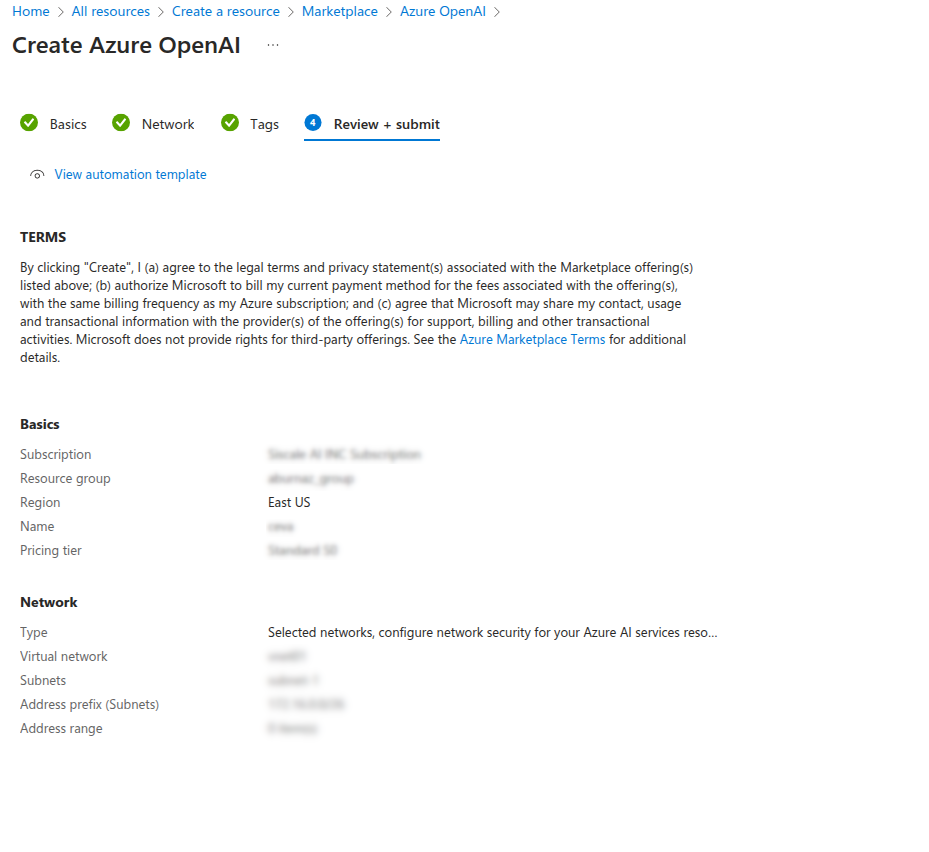
- Review and Create
- Click Review + Create to validate the information.
- Once validation is complete, click Create to deploy the resource.
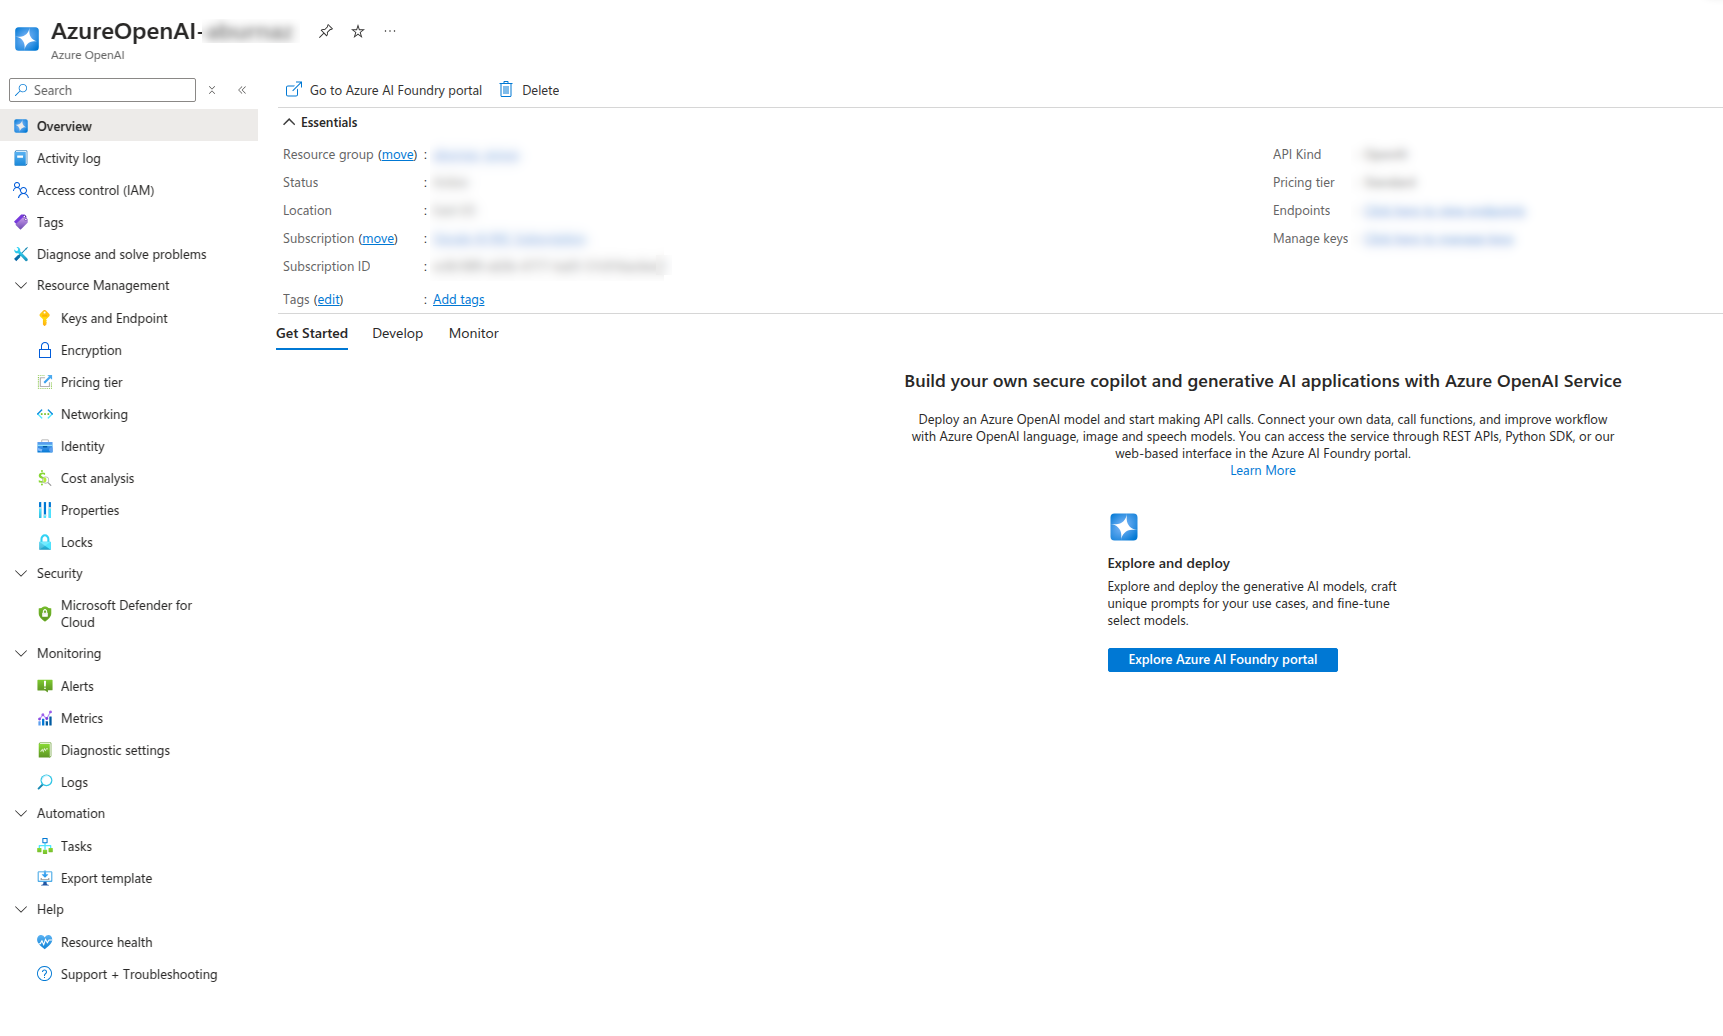
- Deploy Azure OpenAI model:
- Click Azure AI Foundry portal button.
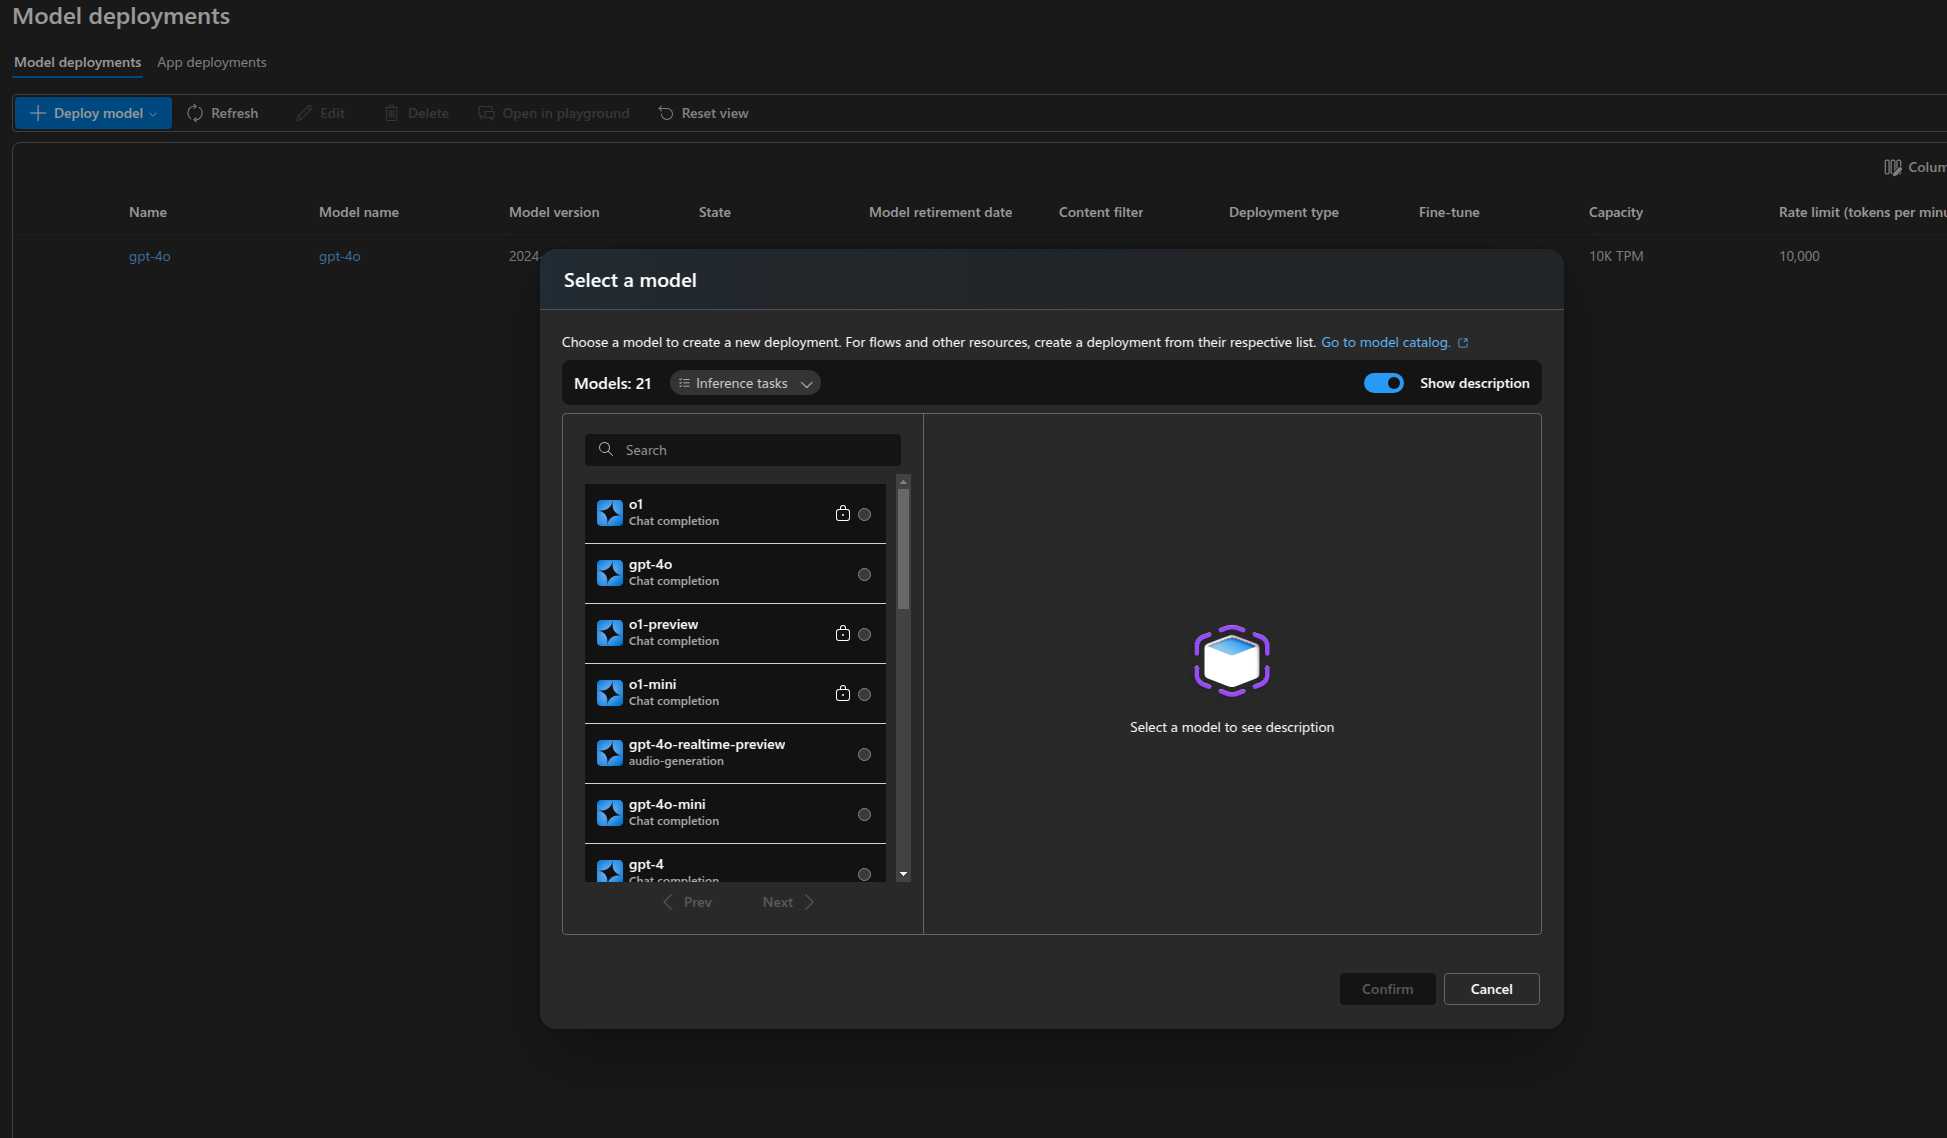
- In the left-hand menu, select Deployments (this is where you manage and deploy models to your resource).
- Click + Deploy model button.
- Choose the model you want to deploy (e.g., gpt-4o, gpt-35-turbo).
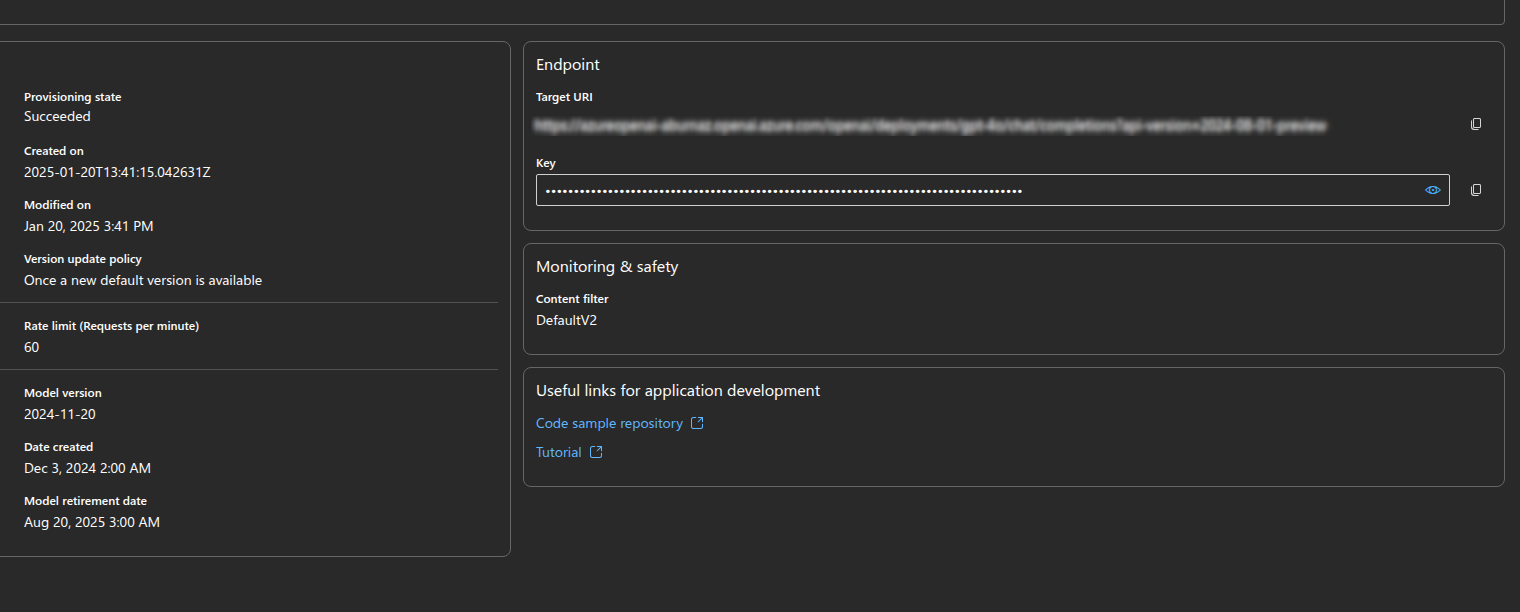
- Once you have deployed a model, you can edit the deployment name.
- By clicking on the name of the deployed model, you can access the tab where you’ll find the API key and endpoint, which you will use later in Arcanna.ai.
Go to Arcanna.ai instance:
- Create the Azure OpenAI integration:
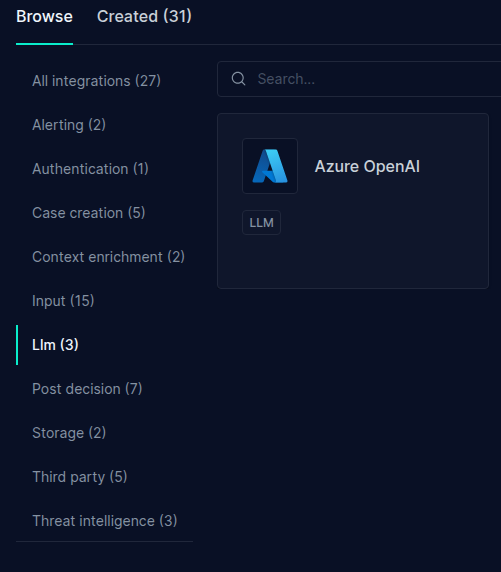
- Go to the Integrations tab.
- Search for Azure OpenAI integration and click on it.
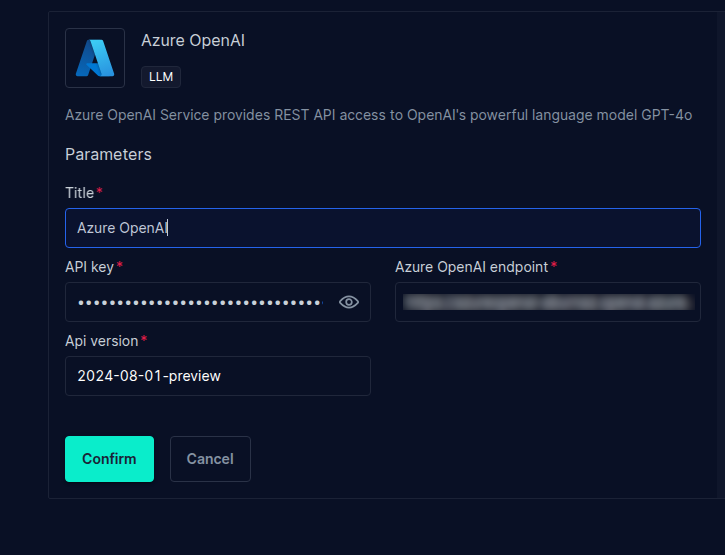
- Fill in all the fields as shown below, using your own api key, endpoint and api-version (can be found at the end of the target url), then press Confirm.
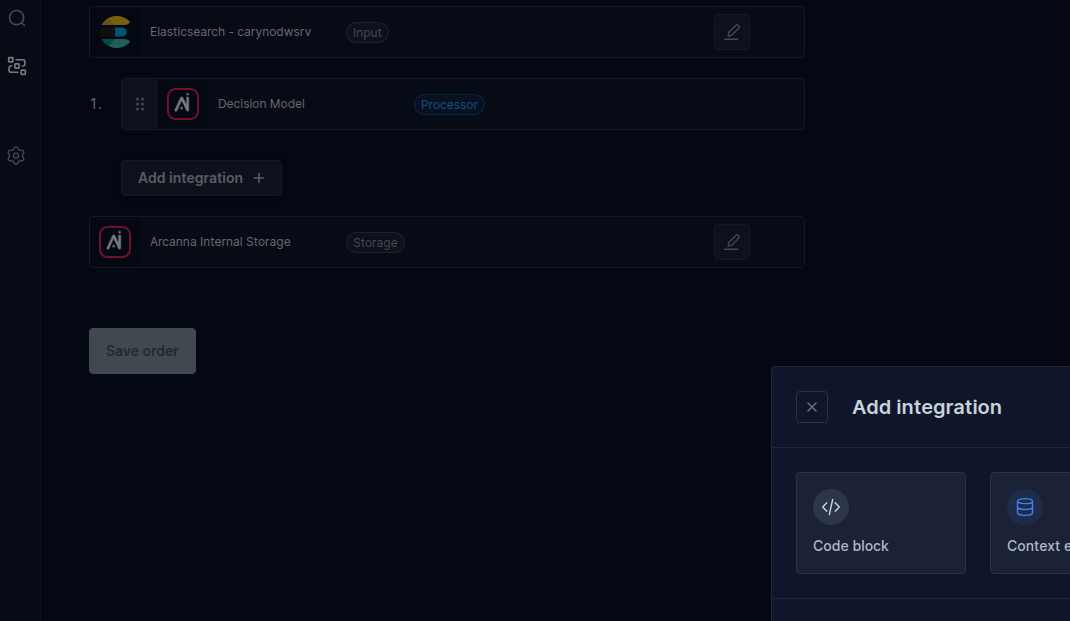
- Considering we already have an AI Pipeline created, click on Flows.
- Press on Add integration button and select Code block
(more about Code Block and its pipelines at this user guide).
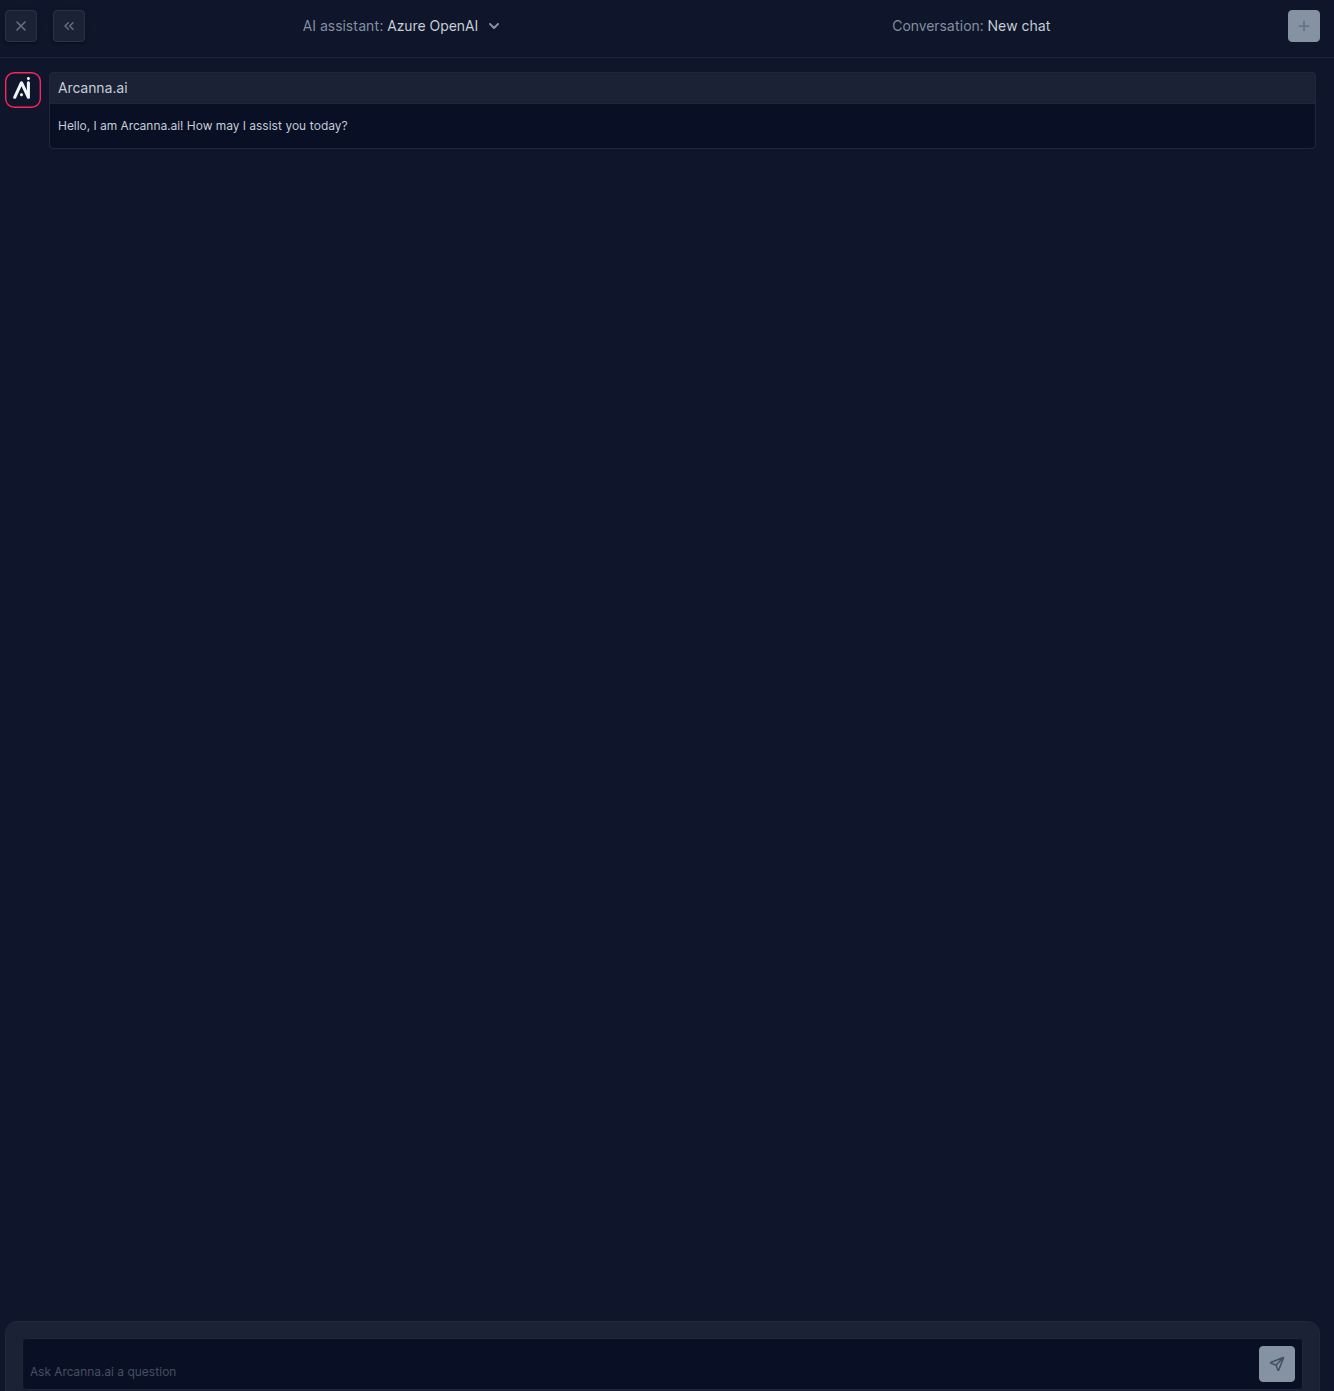
- Press the AI Assistant button and select the integration you created in the first step.
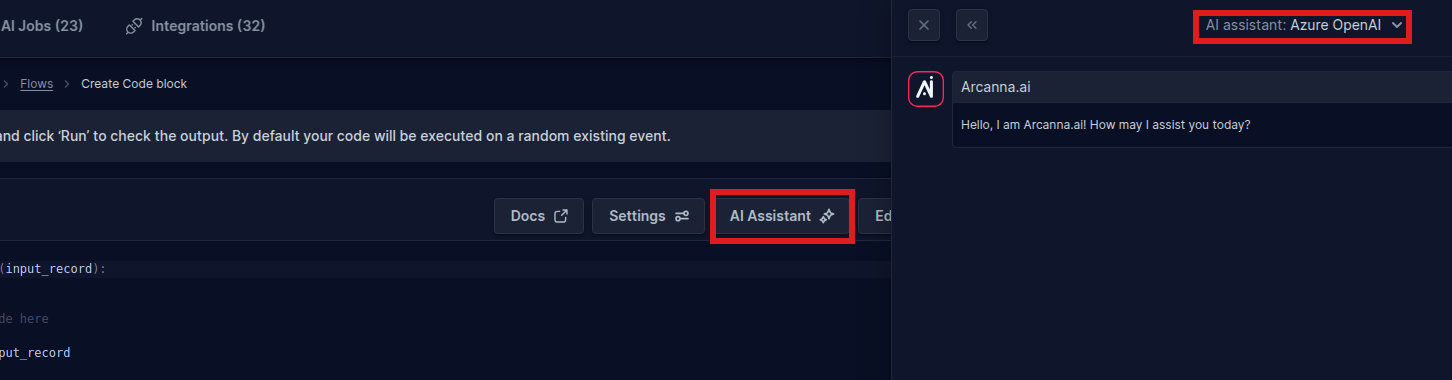
- The chat is now set up, and we can test the interaction with our AI assistant.