Microsoft Entra ID
Microsoft Entra ID is a cloud-based identity and access management (IAM) solution. It is a directory and identity management service that operates in the cloud and offers authentication and authorization services to various Microsoft services and 3rd-party services.
The primary function of this integration within Arcanna is to provide user authentication.
Steps to configure Microsoft Entra ID integration
Prerequisites
-
Arcanna.ai - Arcanna.ai can be deployed in the cloud (AWS), or on-premises. For setup, you can follow this user guide. For flexibility reasons, Arcanna.ai exports the AI-processed alerts to an internal Elasticsearch/Opensearch data warehouse that needs to be installed at the same time as Arcanna.ai. You can use an Elasticsearch/Opensearch instance you already have, or a new one dedicated just for the Arcanna.ai backend.
-
Setting up an app registration in Azure
App registration
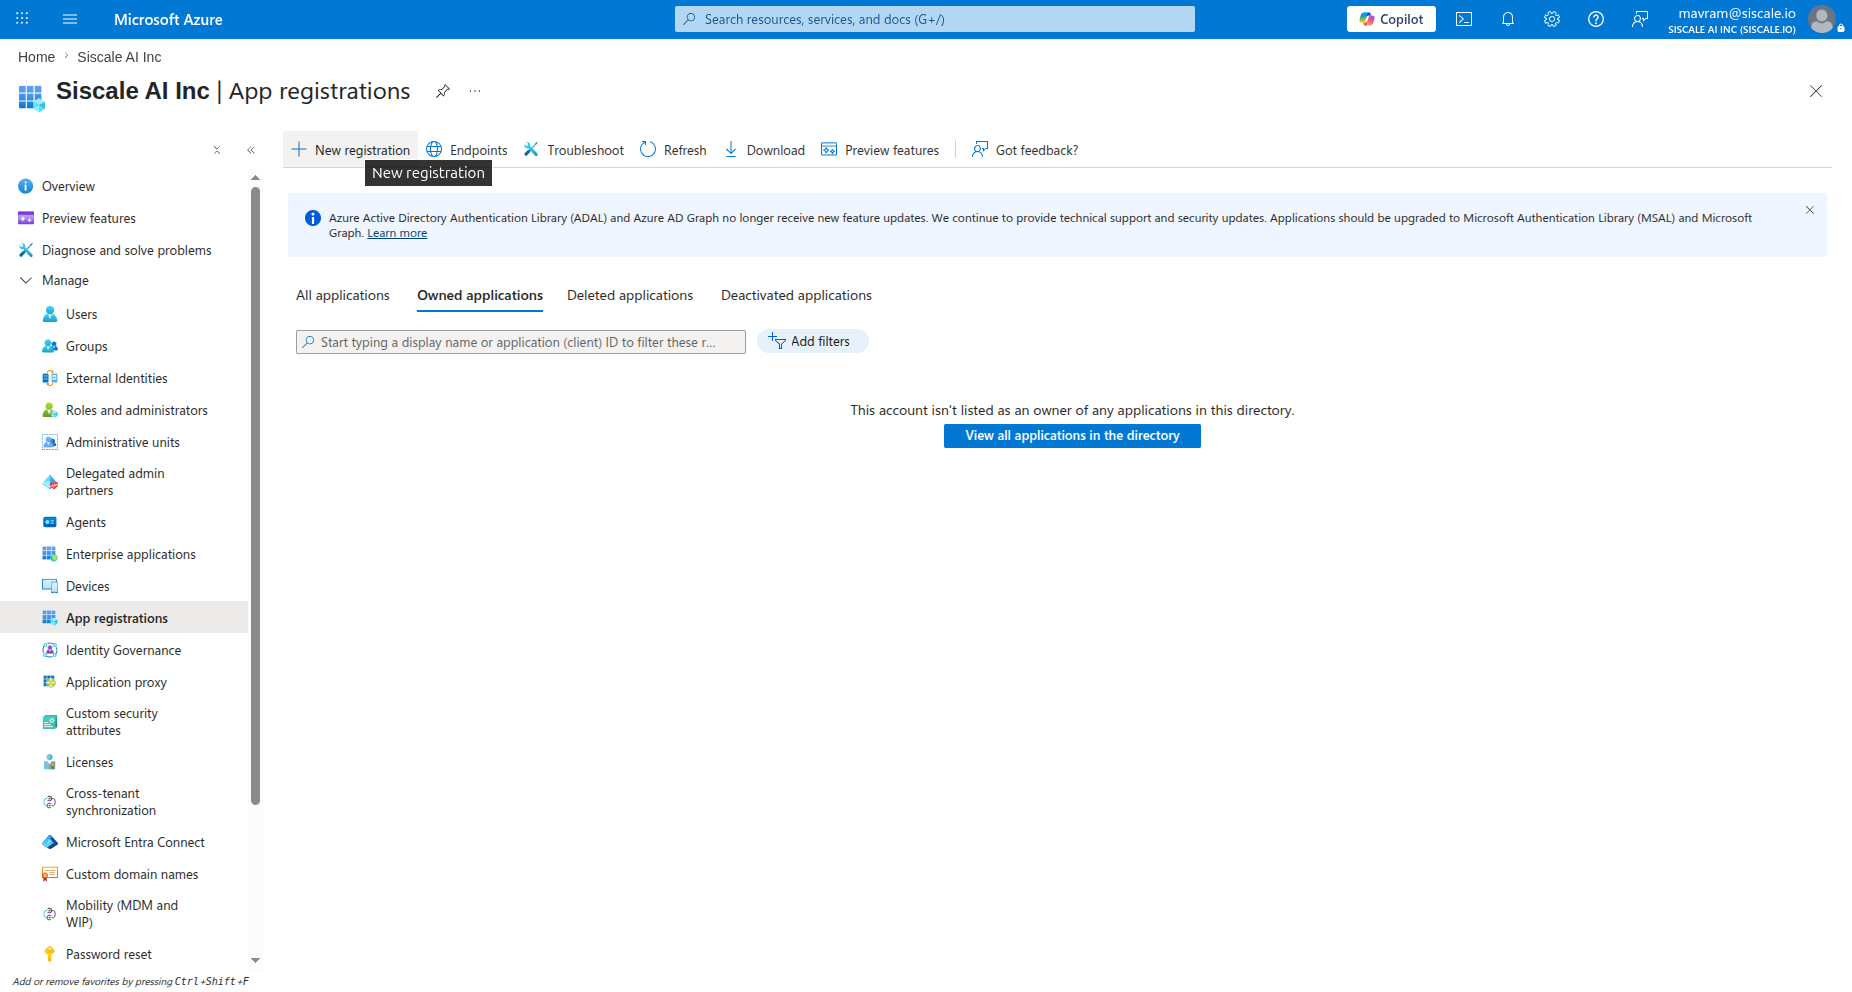
- Go to Azure and authenticate. From the homepage, select the service called Microsoft Entra ID. If it is not available, search for it in the search bar.
- Once you have selected Microsoft Entra ID, go to Manage > App registrations. Create a 'New registration'.
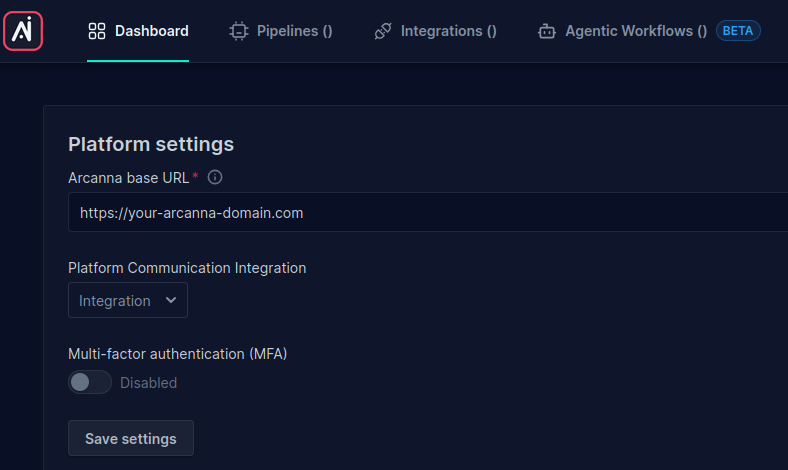
- Fill in the details of your application. The redirect URI should contain the base URL of Arcanna configured in platform settings, and it must end with the path '/login'. Accordingly, if the platform settings contain the base URL https://your-arcanna-domain.com, the corresponding redirect URI should be set to https://your-arcanna-domain.com/login.
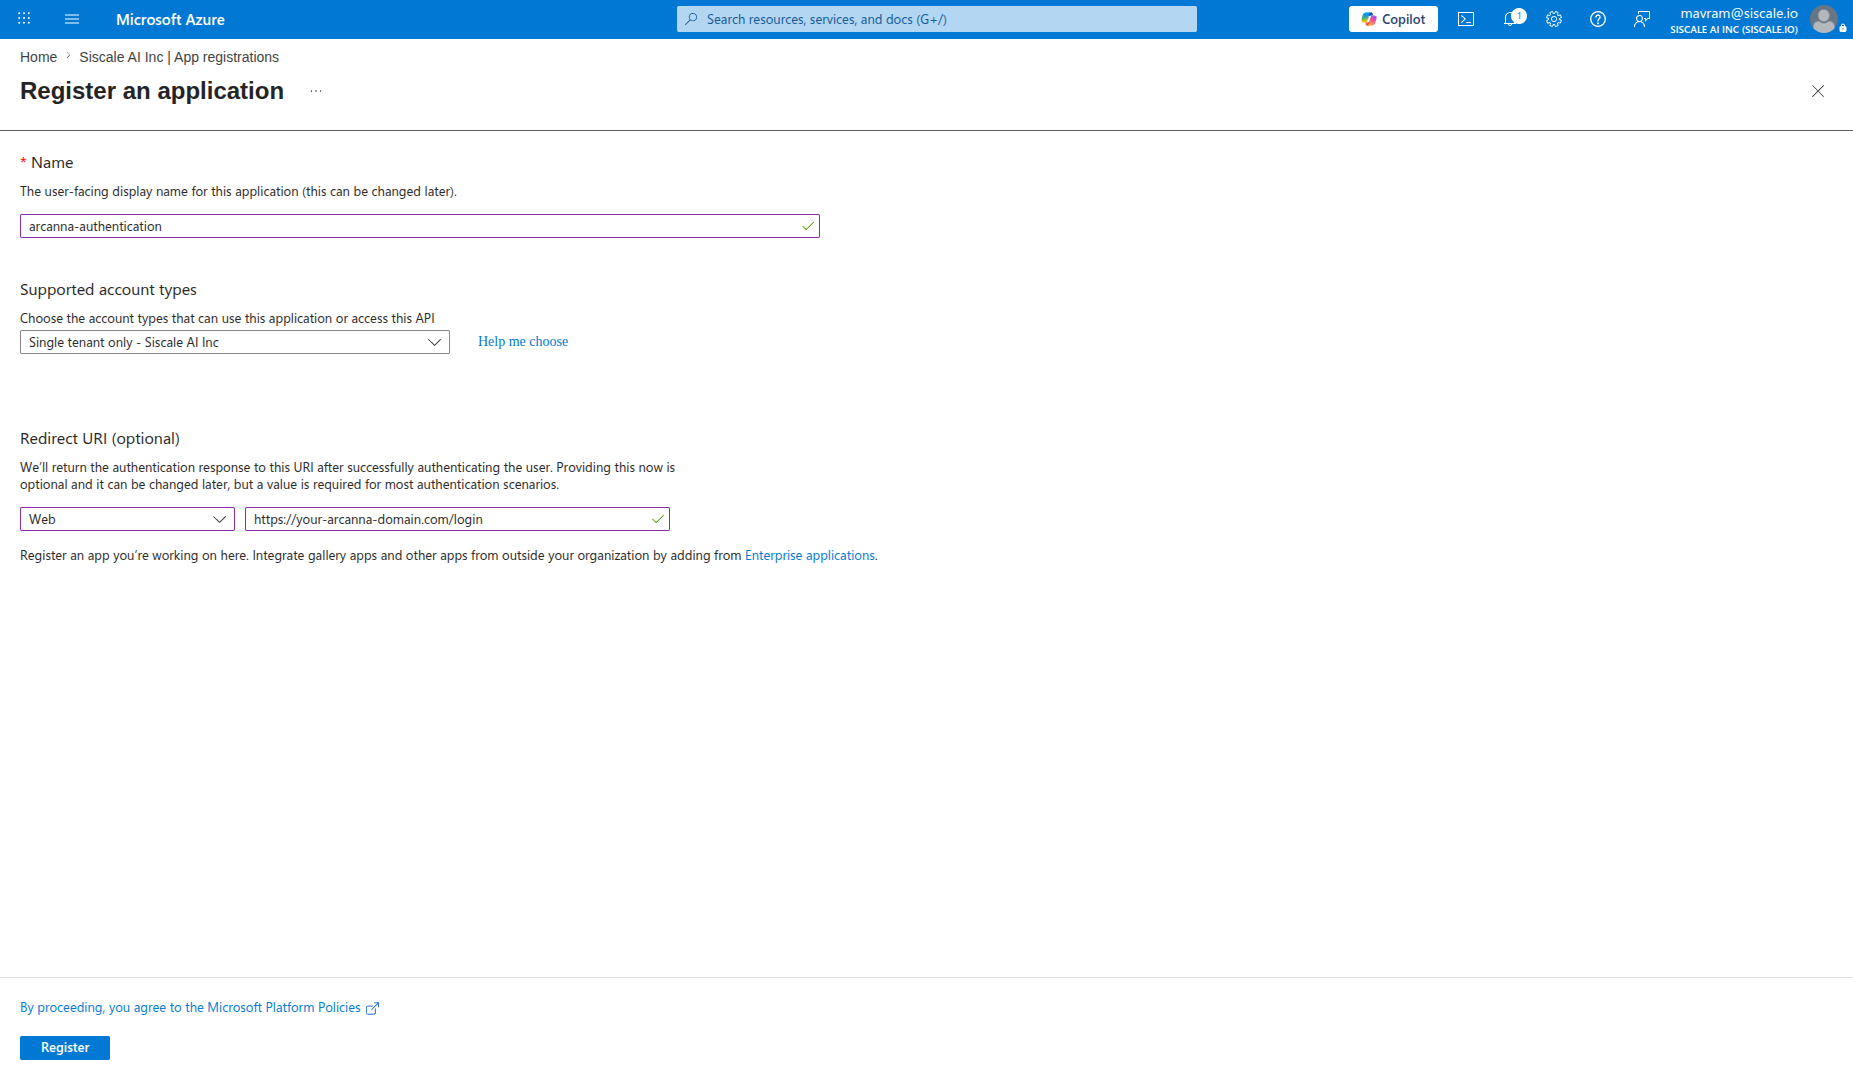
This is the matching base URL from Arcanna.
- After creation, you will find the details required for the Entra ID integration defined in Arcanna on the Manage page:
- Application (client) ID
- Directory (tenant) ID
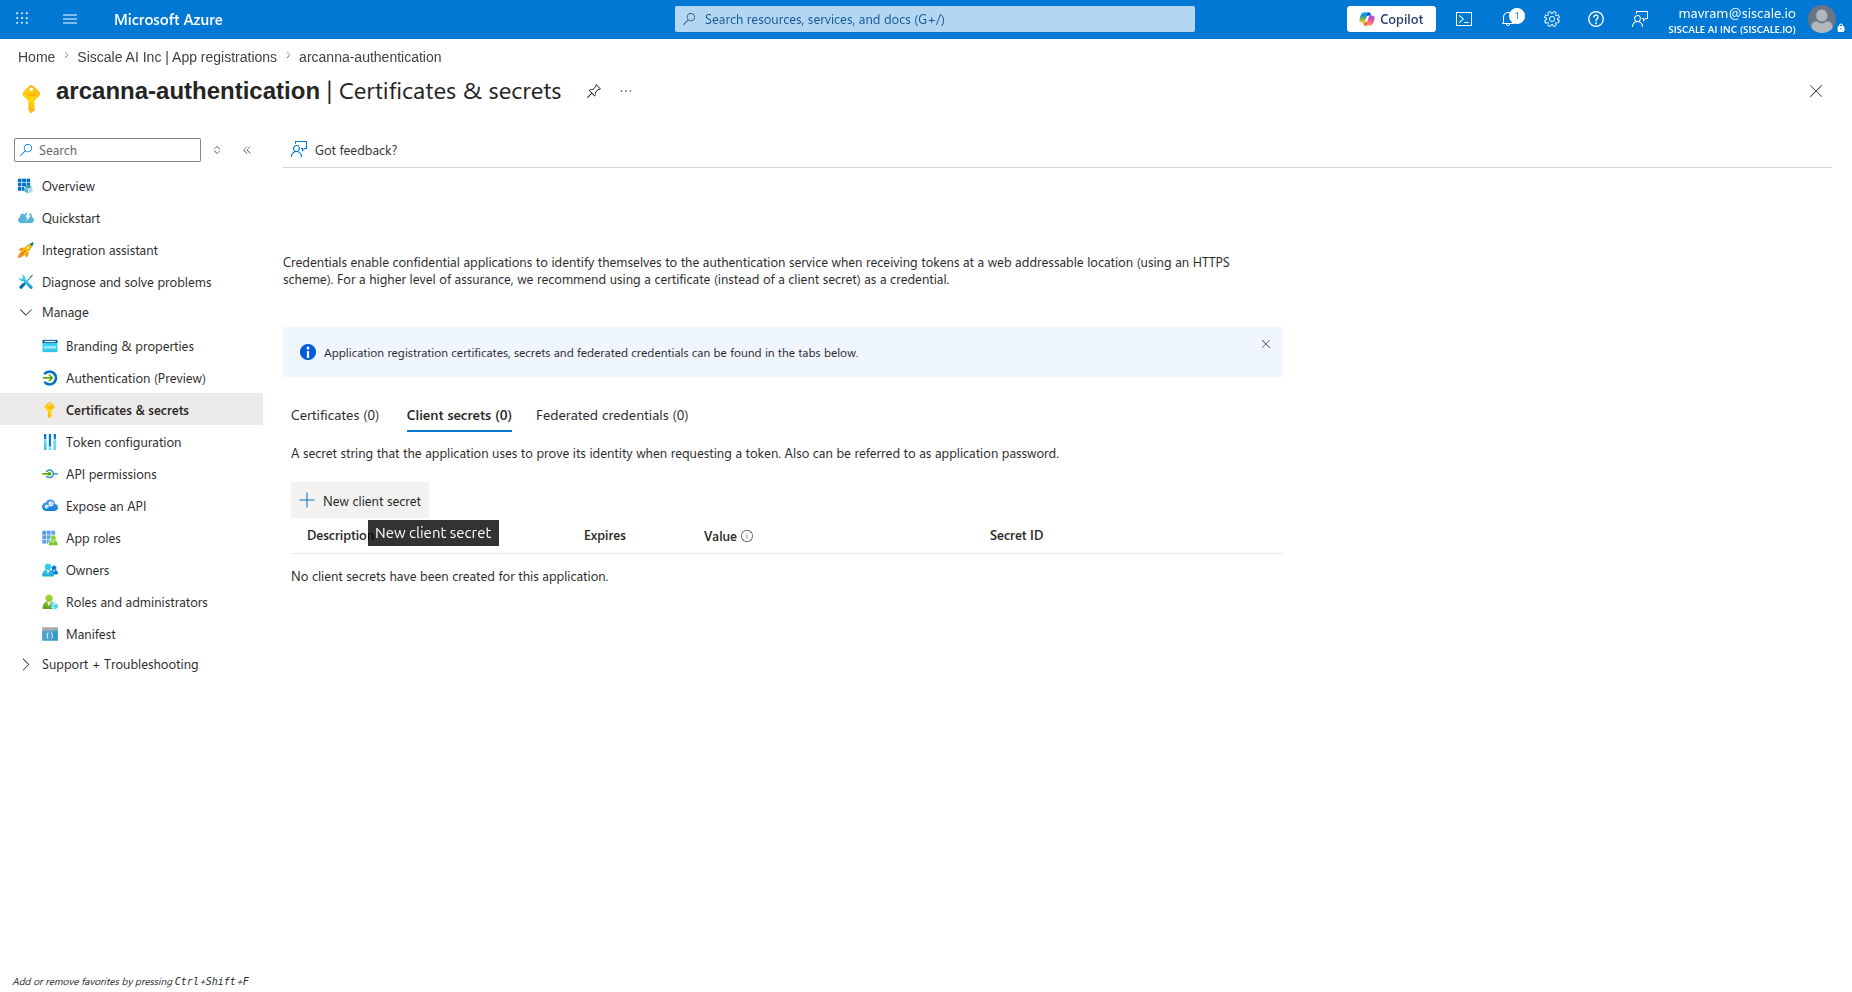
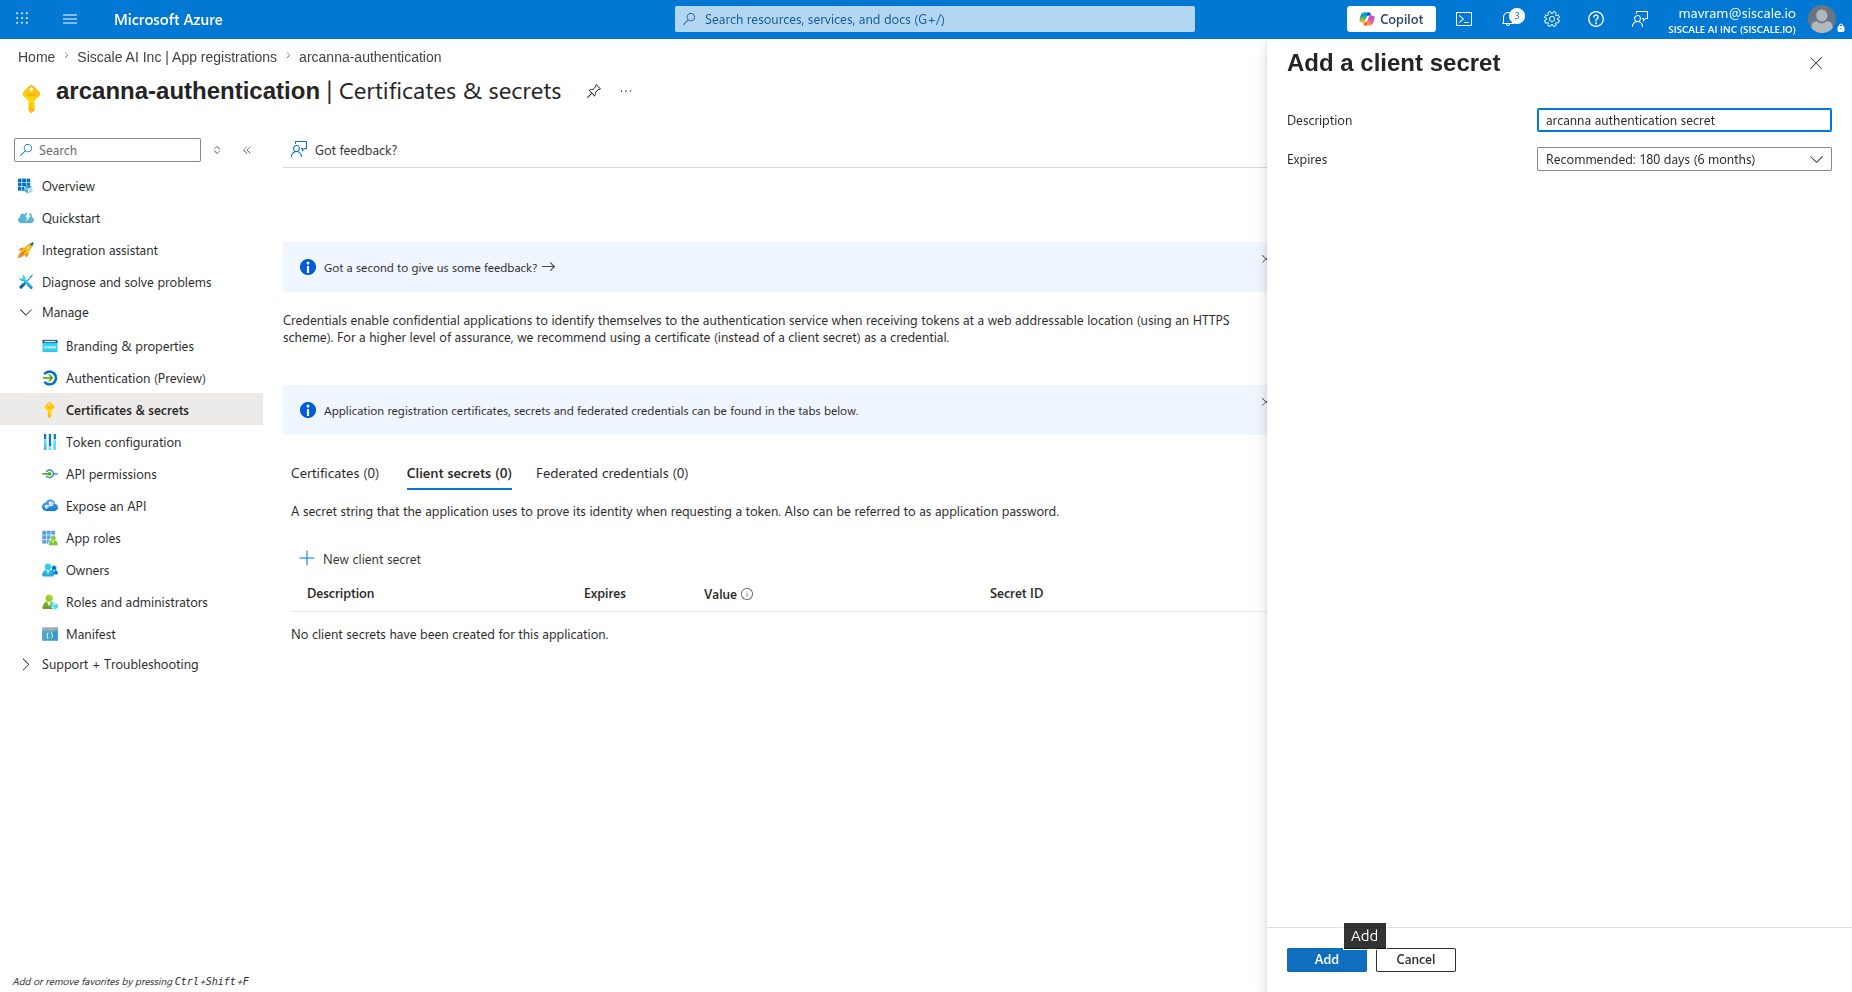
- Add a client secret by going to App registrations > Manage > Certificates & secrets > select New client secret.
Step 1 - clicking 'New client secret'
Step 2 - filling in the details of the secret. Make sure to copy and paste its value.
How to connect
Create the Microsoft Entra ID integration in Arcanna.ai
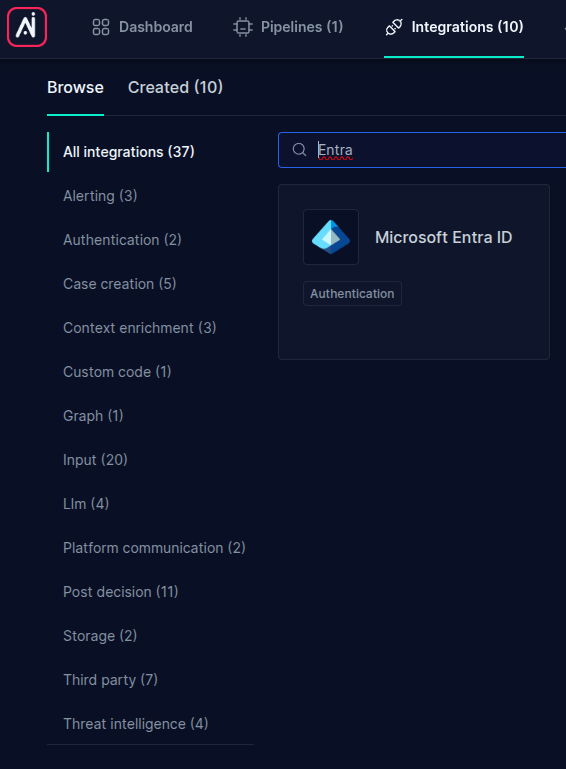
- Go to the Integrations tab
- Search for the Microsoft Entra ID integration and click on it
-
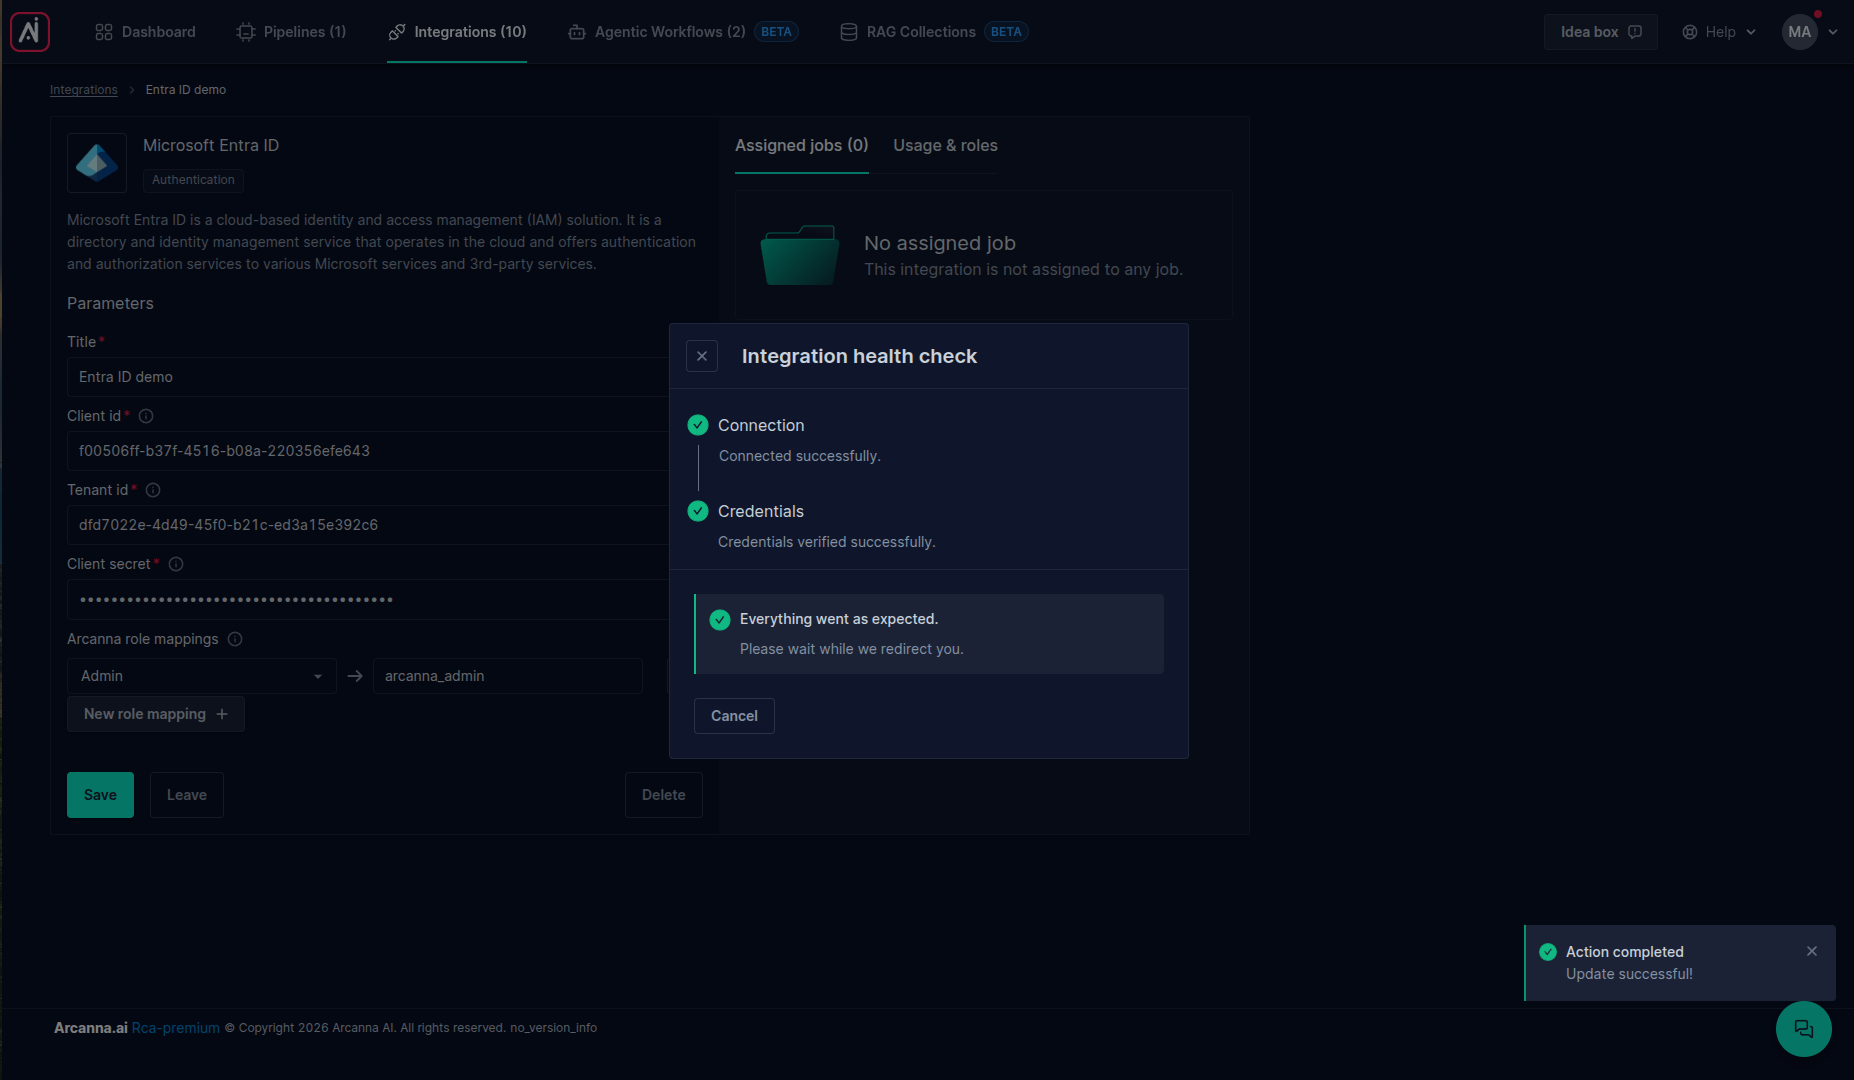
Fill in the integration parameters:
- Title: Provide a name for the integration
- Client id: The Application (client) ID provided by Azure's App registration
- Tenant id: The Directory (tenant) ID provided by Azure's App registration
- Client secret: The client secret generated for your App registration
- Arcanna role mappings: Map Arcanna.ai user roles to Entra ID user groups. Users from the specified Entra ID group will be granted the specified role in Arcanna.ai. See the User Management page for a description of the Arcanna.ai user roles.
-
Save the integration parameters. Arcanna.ai will verify that the provided parameters are correct and that it is able to connect to the server.
Log in using the Microsoft Entra ID users
- Go to the Arcanna login page. Select the Entra ID integration from the dropdown and click 'Login'.

- You will be redirected to the Microsoft landing page. You need to fill in your Azure/Microsoft credentials. Notice the URL you are being redirected to belongs to Microsoft. It should always be this way.

If you already have an active Microsoft session because you confirmed 'Stay signed in?', you will probably not need to fill in your credentials again. Clicking the button will just redirect you to the Microsoft credential provider, and then it will redirect you back with the necessary credentials.
- After completing the login procedure, you will be redirected to Arcanna's homepage.
Technical details
The endpoint /v1.0/me/memberOf requires the following scopes to be enabled for the users trying to authenticate:
- User.Read
- Group.Read.All
- Directory.Read.All
The Arcanna application needs access to the name of the groups the current user belongs to. By default the name of the groups is not returned - only their internal ID.